Import a watchlist
You can import a single watchlist from a CSV file A Comma Separated Variable file, where variables in the file are separated by a comma, a tab, a semicolon or another character. and create a dictionary from the entities in it. The Watchlist Wizard then prompts you to:
- attach the dictionary to new or existing Document Processing and Ingestion configurations
- attach the dictionary to a new or existing collection A collection is a container for storing and organising ingested files and documents. Only the textual content is stored in collections, not the original files and documents.
- enter details about the network that will be generated from your watchlist
As you process documents in the collection, watchlist entities in the dictionary will be identified.
If a watchlist CSV file is updated and you want to update the corresponding dictionary, you can do so easily without needing to use the wizard again.
Import a Watchlist using the Watchlist Wizard
- Create or open the Sintelix project you want to import the watchlist into.
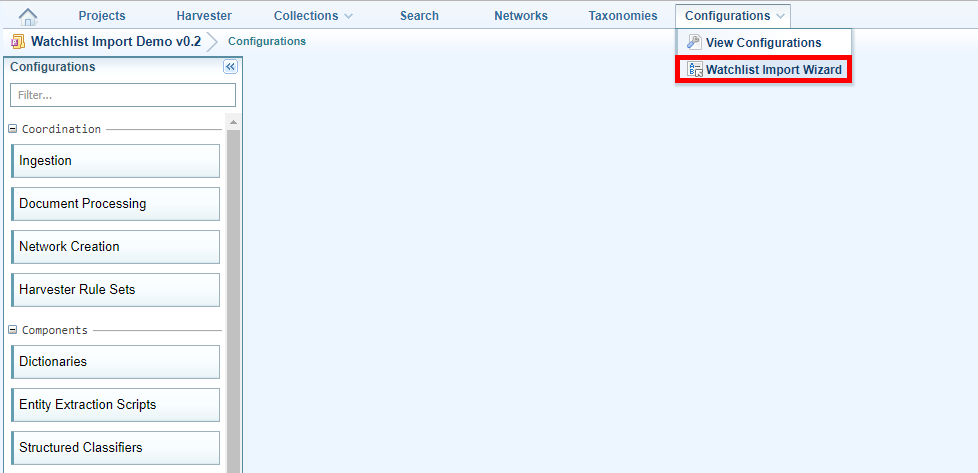
- Hover over the Configurations tab then click Watchlist Import Wizard.
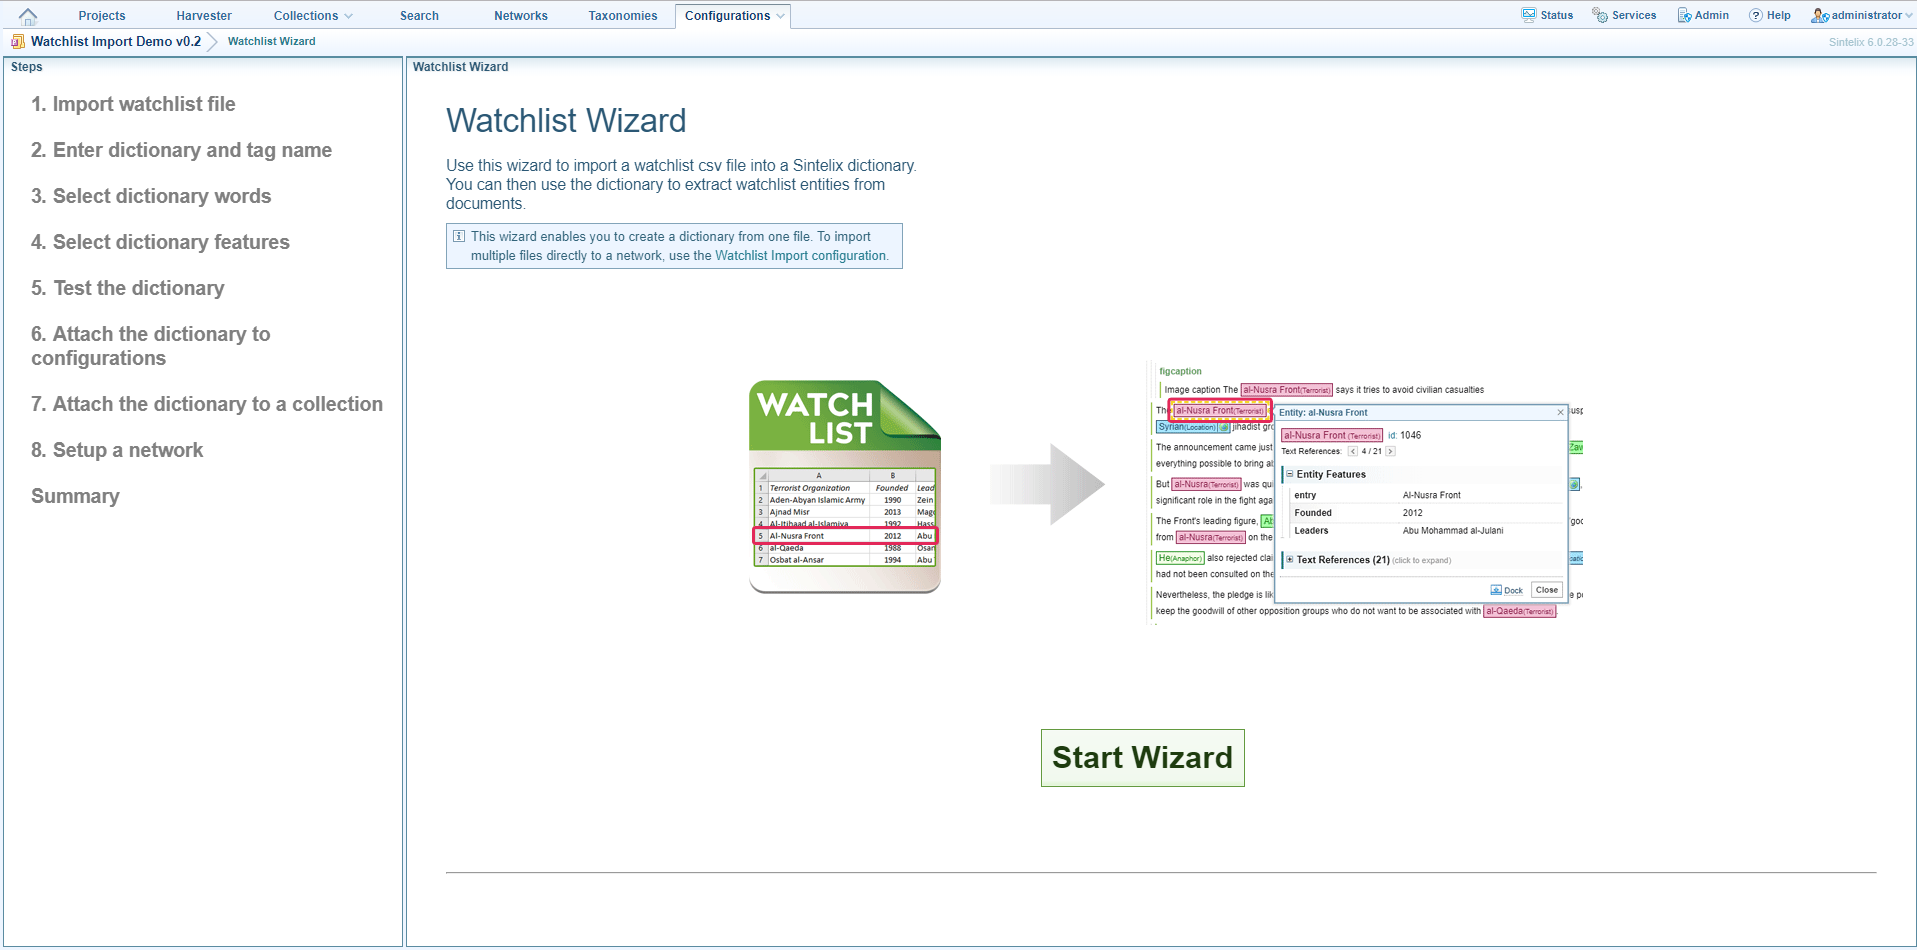
- Click Start Wizard.
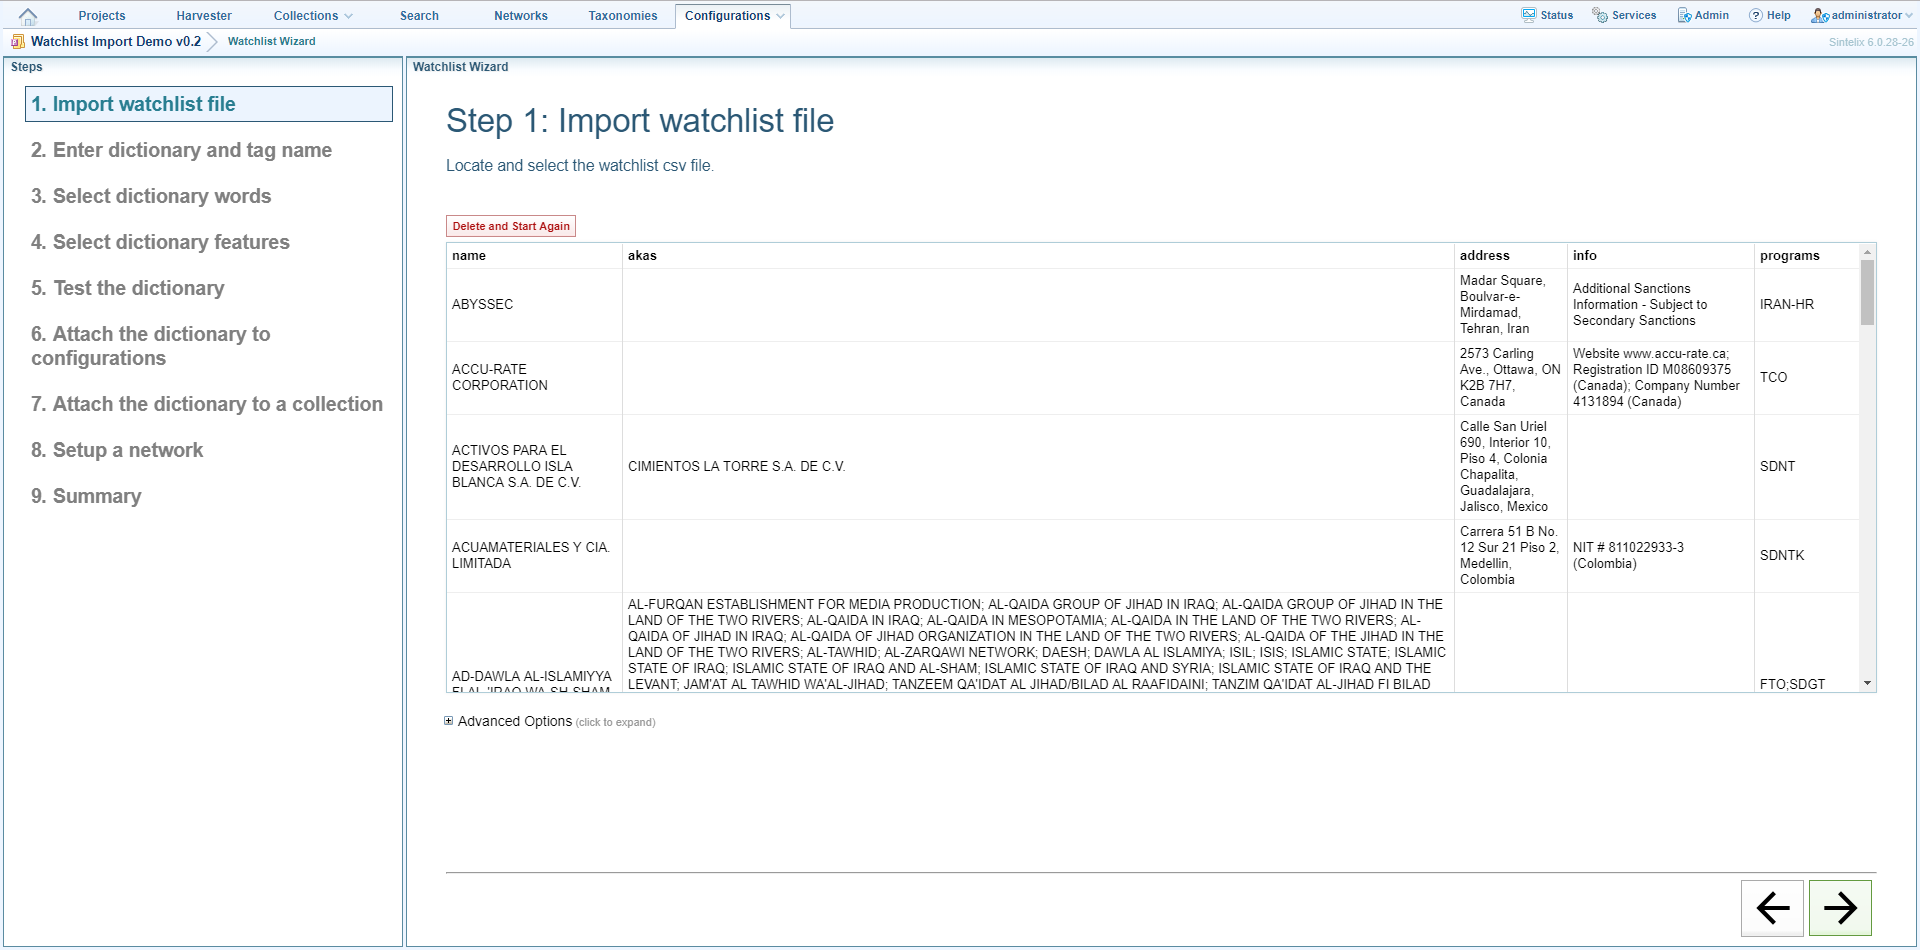
- Click Choose file, locate the watchlist file you want to import then click Open.
- If necessary, do one or more of the following:
- Scroll through the rows to confirm that this is the CSV file you want to import. If this is not the correct file click ‘Delete and Start Again’.
- The wizard attempts to determine whether or not the first row in the CSV file is a header row. If the first row is a header the text in the row is shown in bold and, under ‘Advanced Options’, the ‘First row is header’ check box is ticked. If the first row is not a header row, deselect this check box.
- The wizard attempts to determine the character that is used to separate values in the file. If the text in the table is left justified and not divided into columns, you need to select the correct separator. Click Advanced Options then click Comma, Tab, Semicolon, or click Define Own then enter the character. Click Reprocess Sample Data.
- Go to the next step in the wizard by clicking the right arrow at the bottom right of the screen.
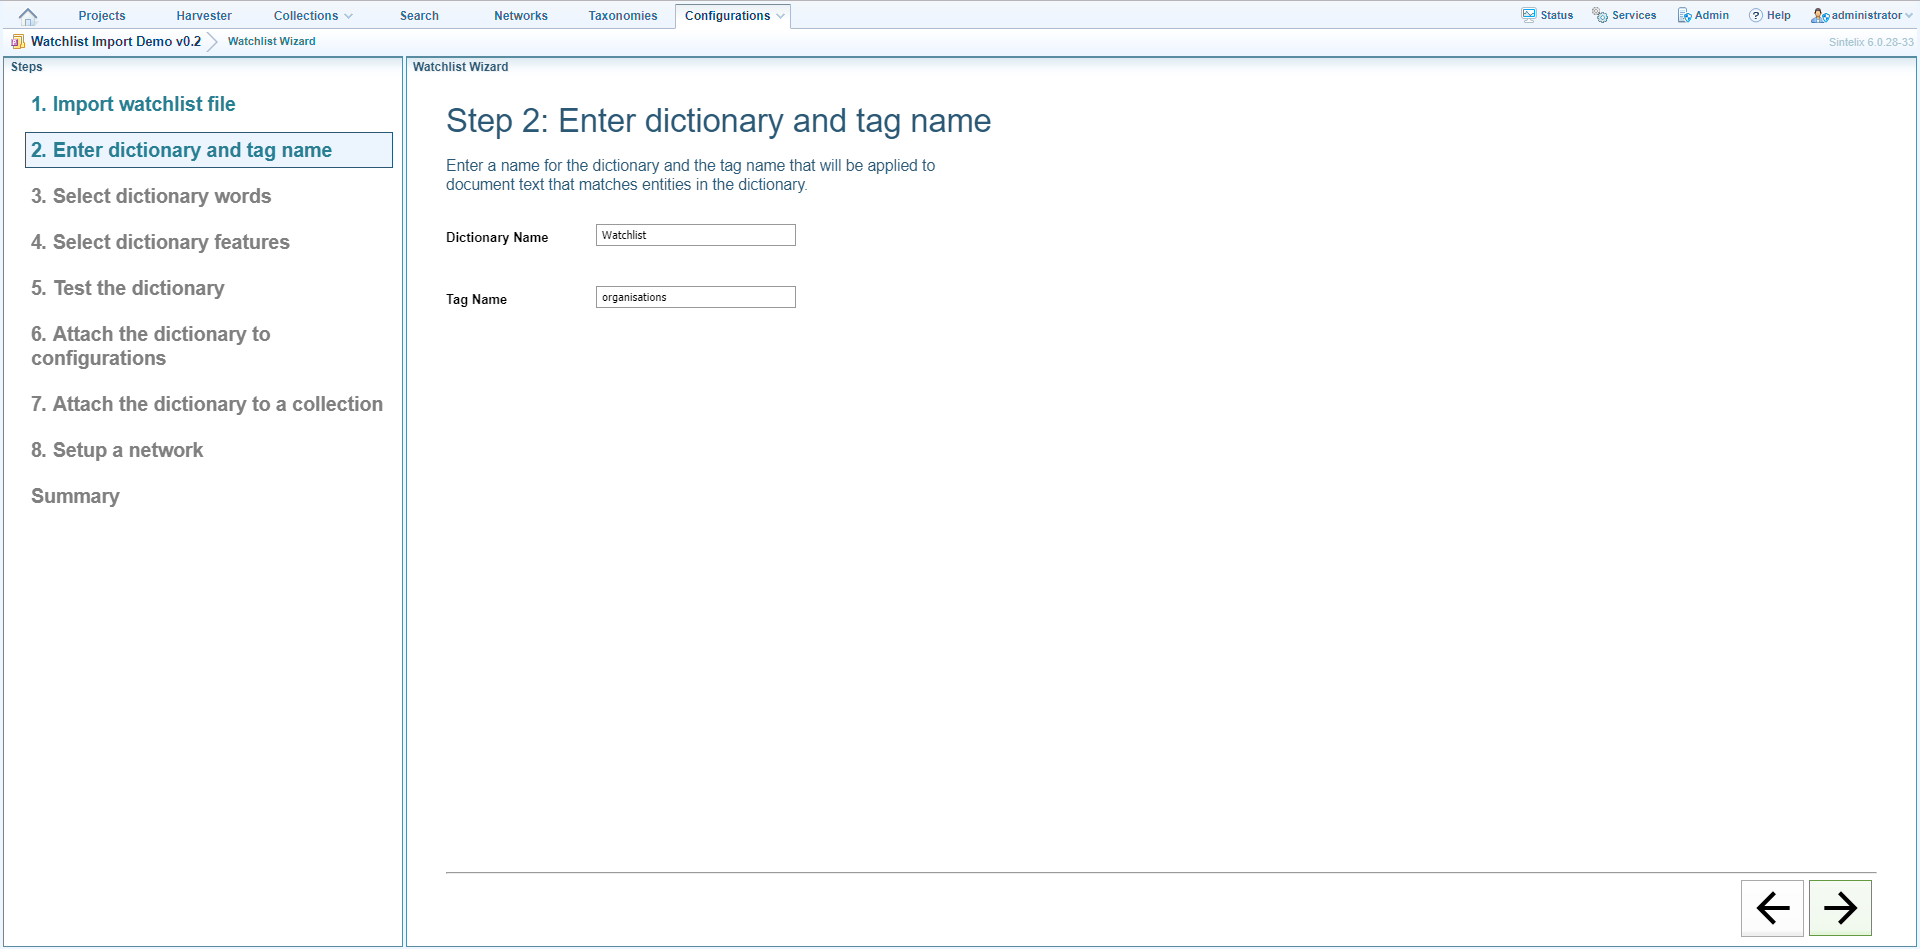
- In the Dictionary Name field enter the name of the dictionary you want to create.
- In the Tag Name field enter the name of the tag that will be applied to text that matches words or phrases in the dictionary.
- Go to the next step in the wizard.
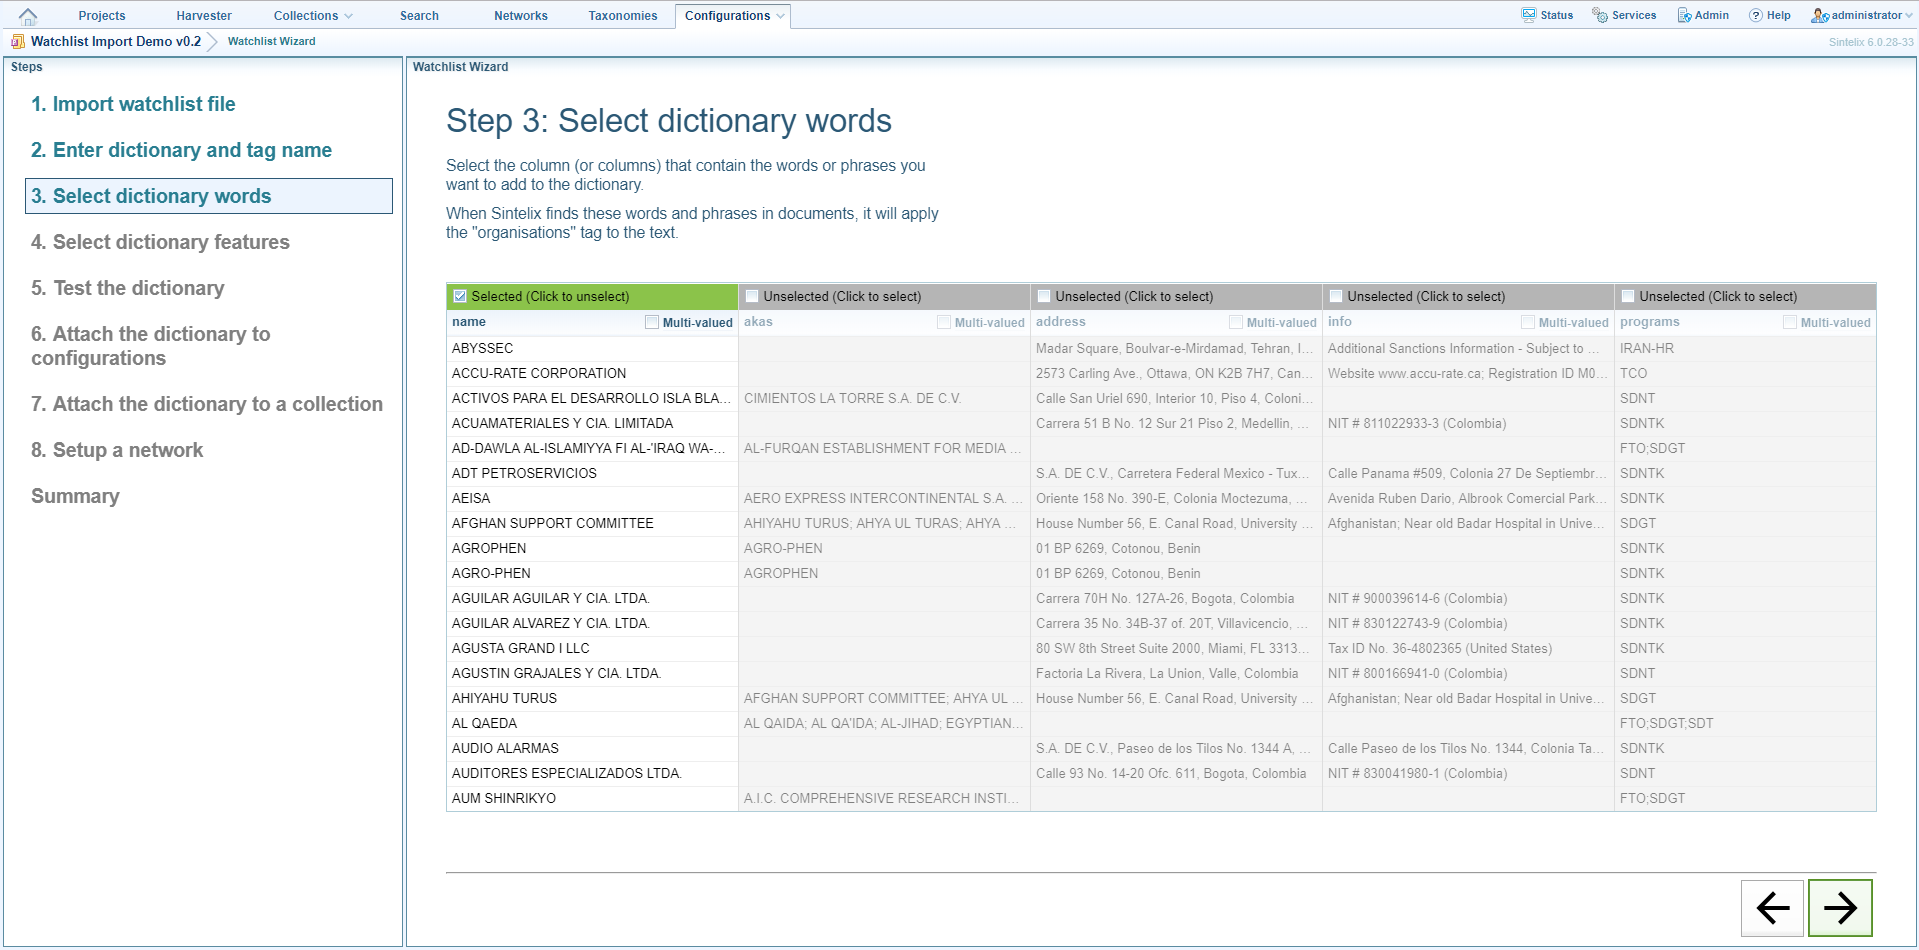
- Select the column that contains the words or phrases you want to add to the dictionary. These are the words and phrases Sintelix will search for in documents, and that will be marked up with the tag you entered on the previous screen.
- Go to the next step in the wizard.
- Select the column or columns you want to use as dictionary features. By default, the columns you selected as dictionary words in the previous step are deselected. You can select them again if required.
- If there was a header row in the CSV file the column headings are shown at the top of each column. If there was no header row the columns will be titled ‘Col 1’, Col 2’ etc. If you select any columns as dictionary features, these headings will become feature titles. Edit them if necessary.
- Go to the next step in the wizard.
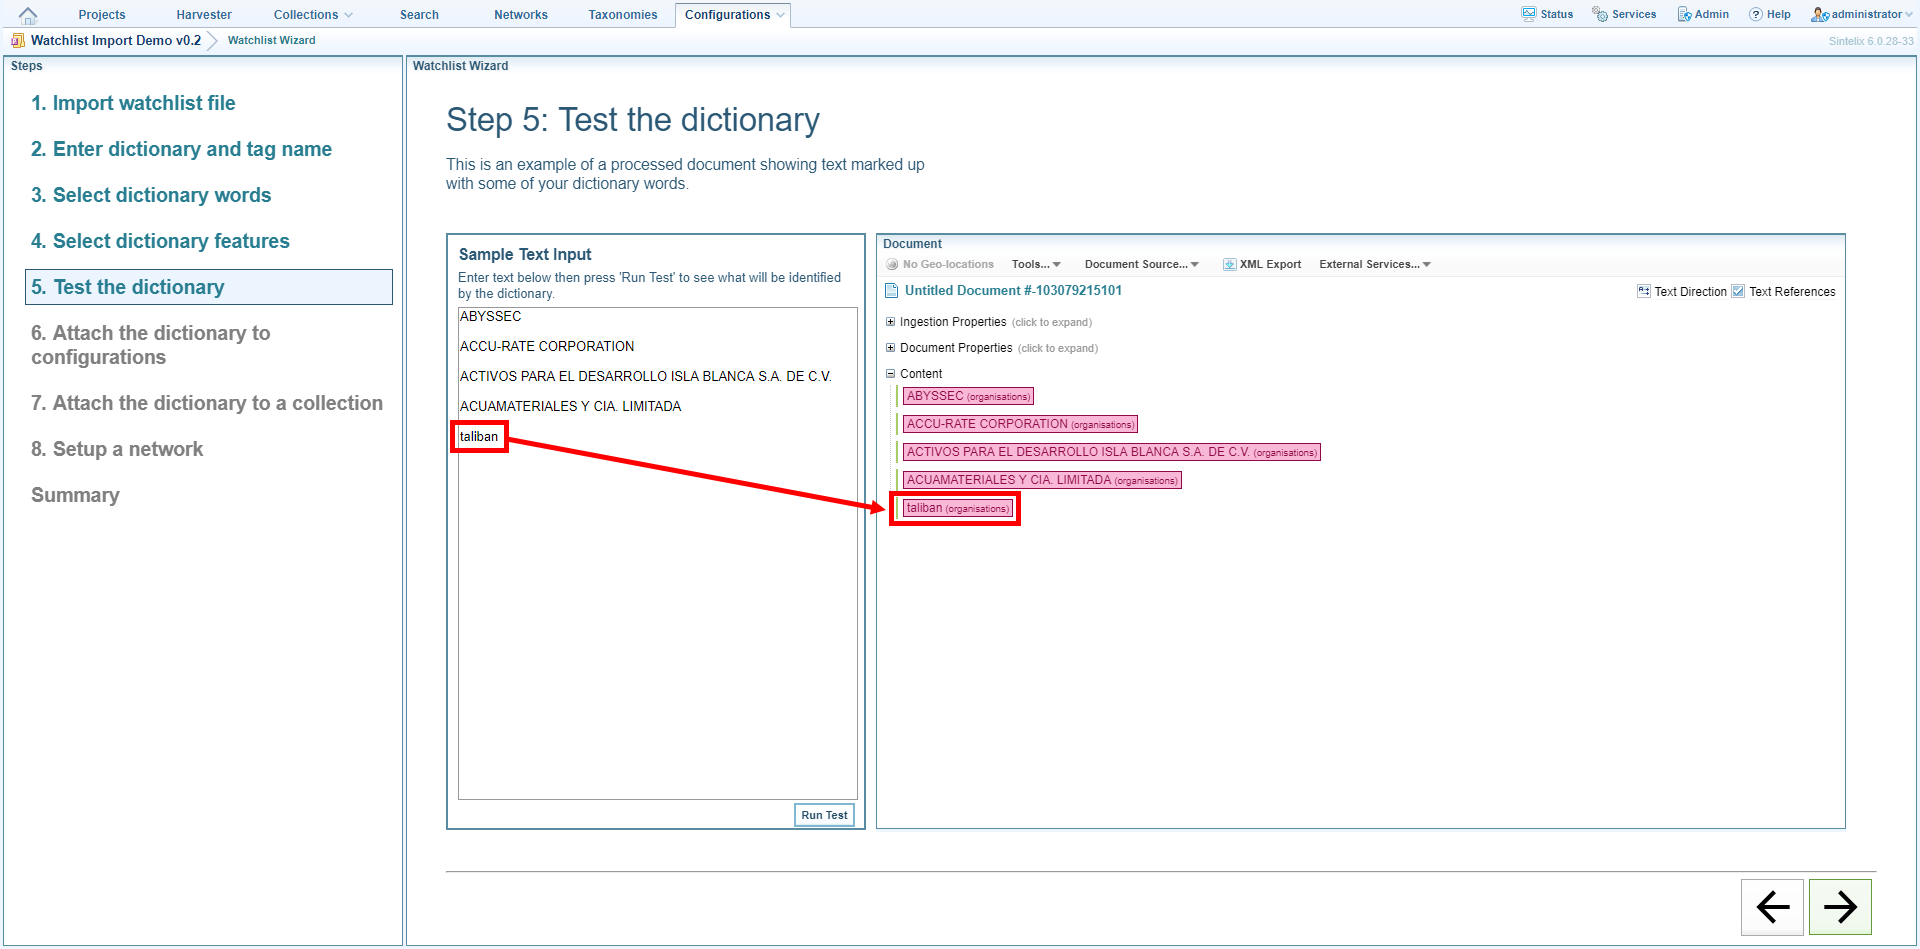
- To test the dictionary, enter some words or phrases from the dictionary in the Sample Text box then click Run Test.
- To view an example of the feature titles, click on a marked up entity. The feature titles are shown in a pane at the bottom of the screen.
- Go to the next step in the wizard.
- Do one of the following:
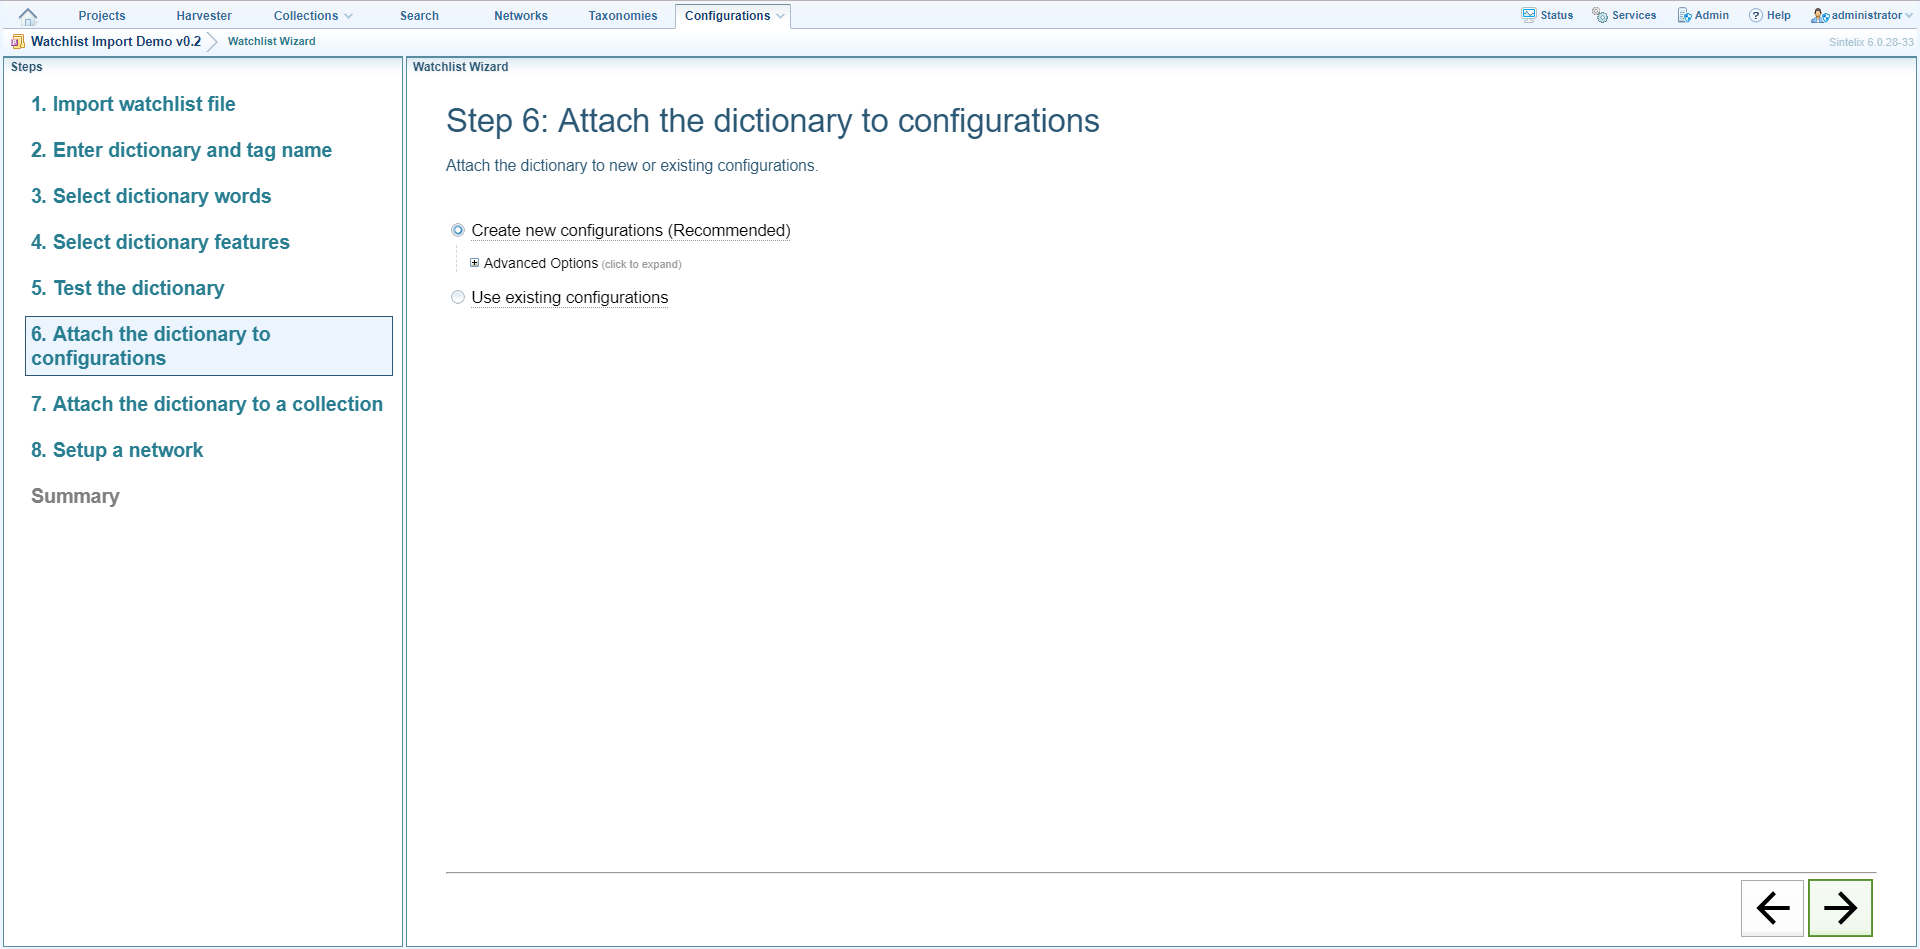
- To create new configurations and attach the dictionary to them (this is the recommended option) make sure that ‘Create new configurations’ is selected. If you want to enter a specific title for the configurations and/or specify the document processing stage in which the dictionary will be used, click Advanced Options the enter/select the details.
- To use existing configurations click ‘Use existing configurations’ then enter/select the details.
- Go to the next step in the wizard.
- Do one or more of the following:
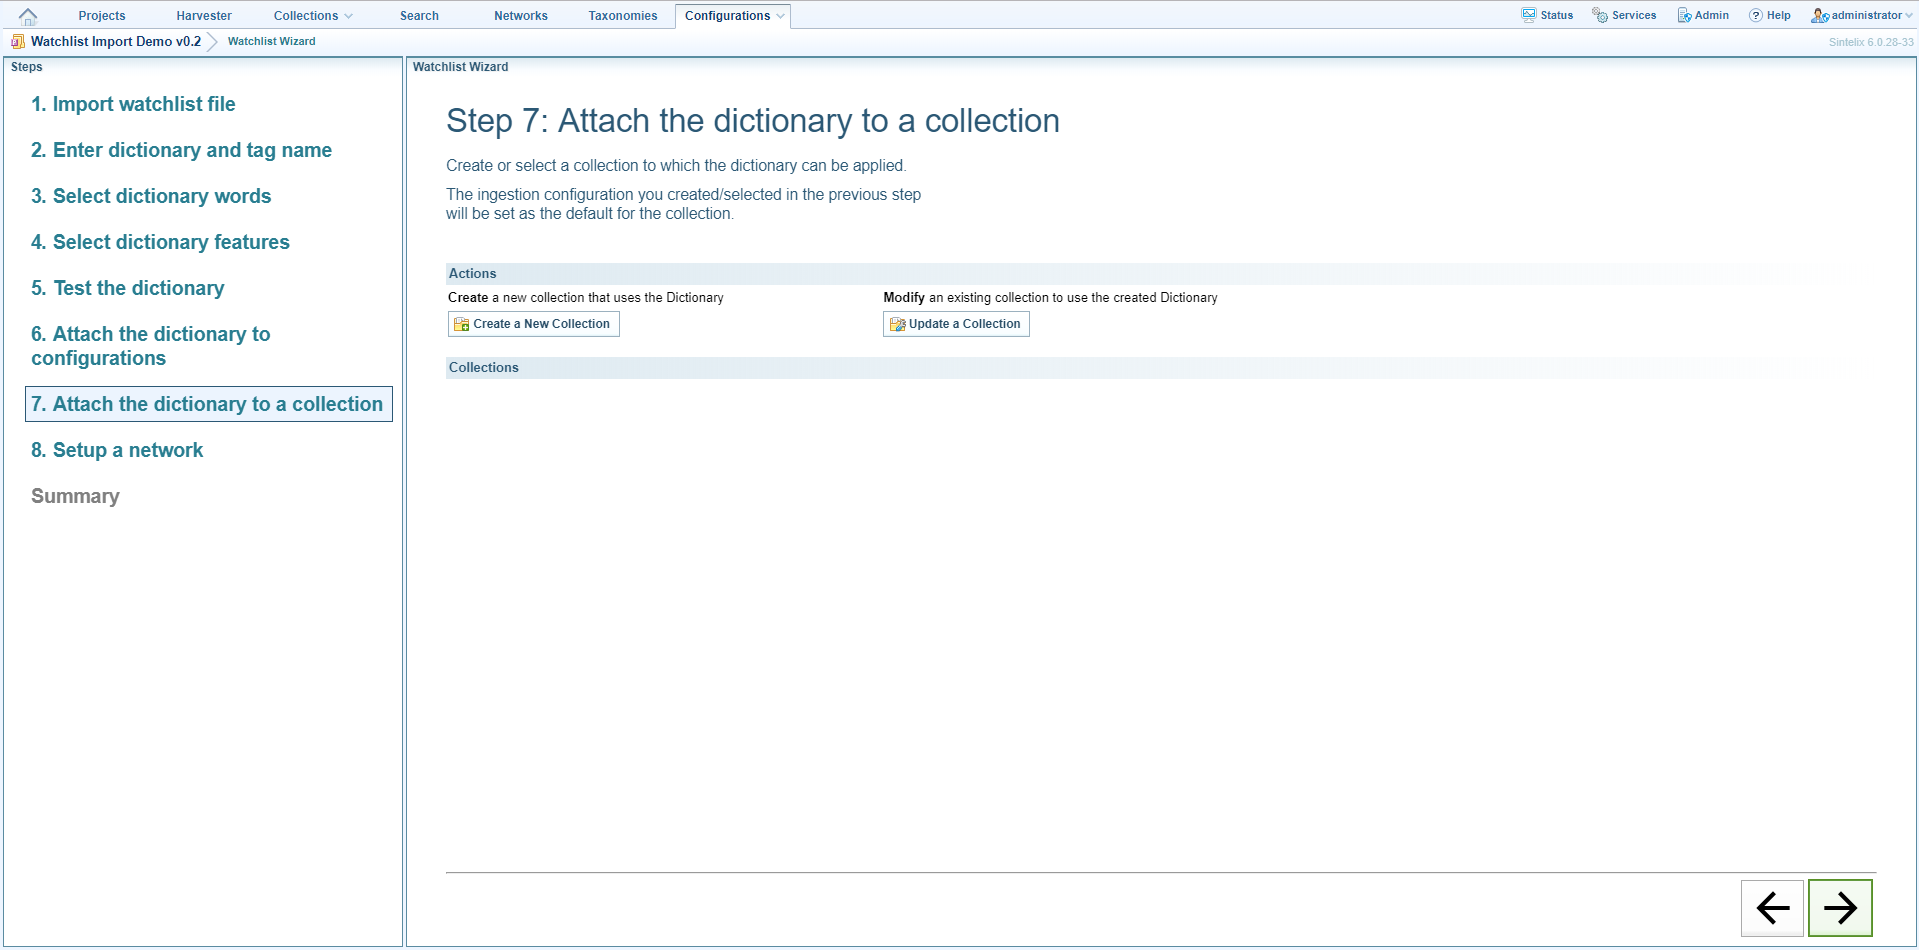
- To attach the dictionary to a new collection click Create a New Collection. Enter the name of the collection then click Create Collection. Click OK.
- To attach the dictionary to an existing collection and set the ingestion configuration you created/selected in the wizard as the default for the collection:
- Click Update a Collection then select the collection from the dropdown list.
- To reprocess the documents in the collection make sure ‘Reprocess Documents’ is selected.
- Click ‘Set default configuration’ then click OK.
- Go to the next step in the wizard.
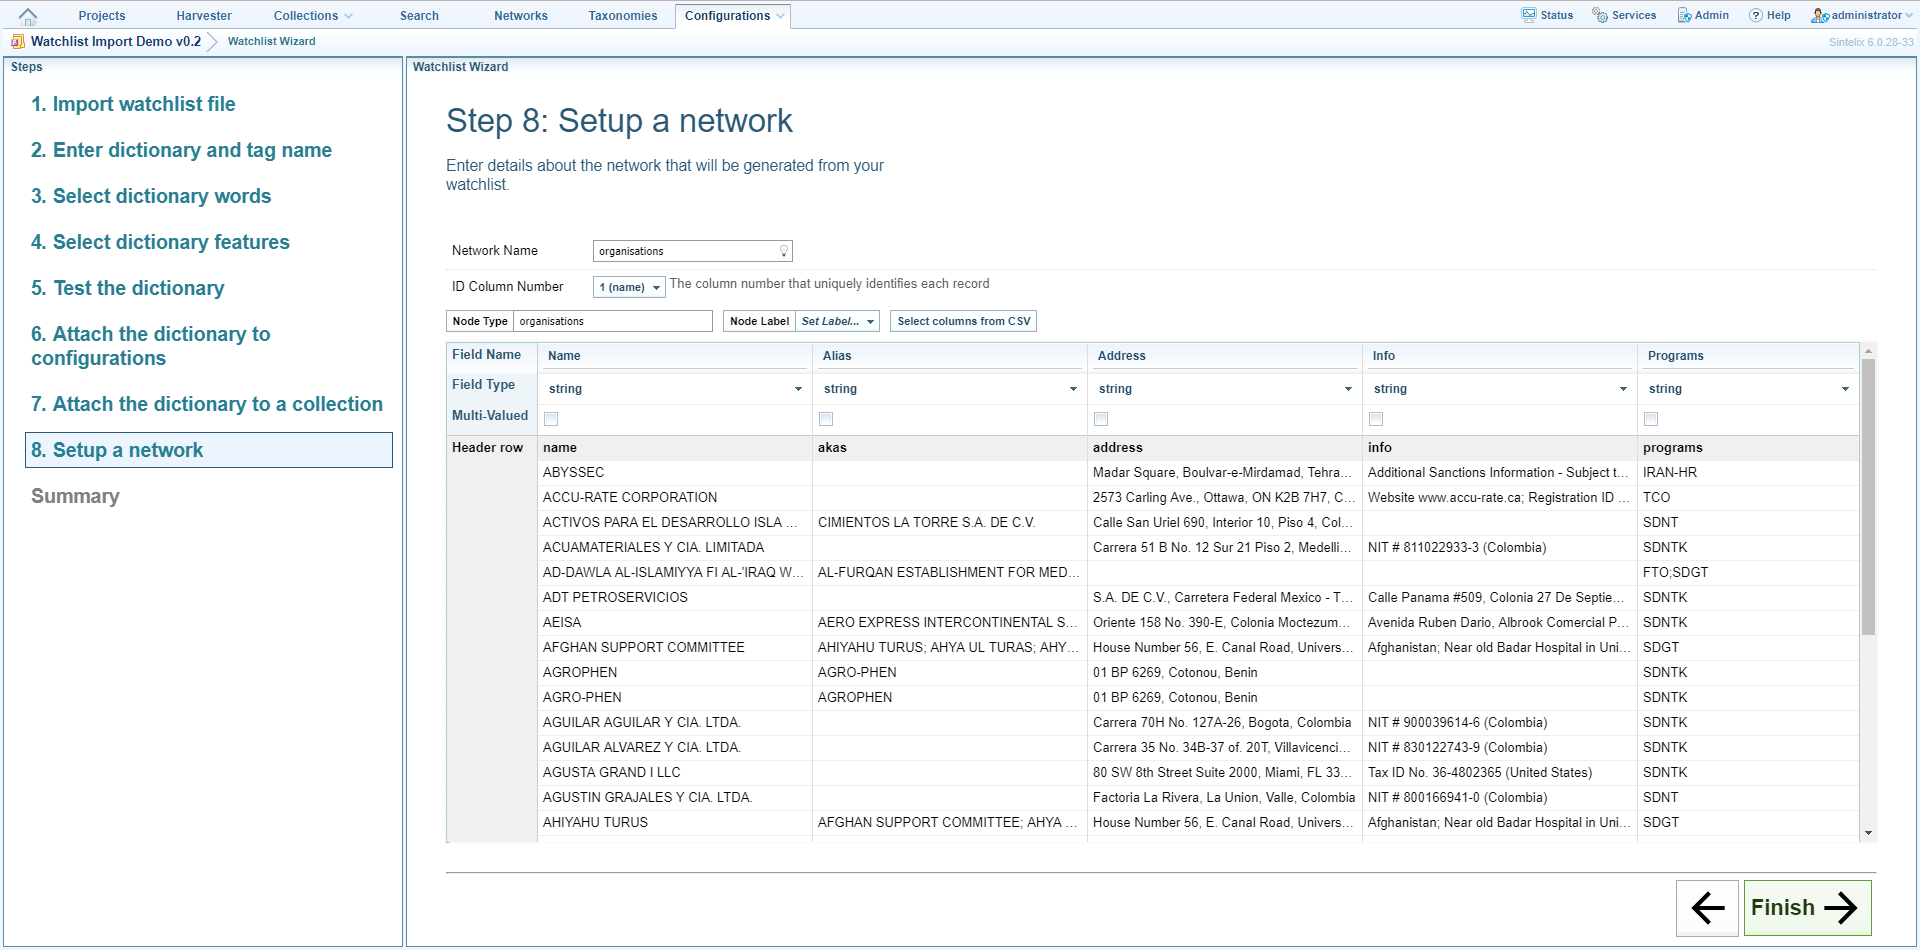
- In the Network Name field enter a name for the network that will be generated. The default name is the name of the tag you entered in an earlier step.
- From the ID Column Number dropdown list select the name of the column from your CSV file which uniquely identifies each record. This is usually the column that contains the names of the entities you want to identify, though if the CSV file contains a column of unique ID numbers you could select this column instead. This information will be used if you update the watchlist, to reduce duplicate entries and combine details. For example, if you add new entities to the watchlist CSV and add aliases to existing entities, when you import the CSV into Sintelix new records will be created for the new entities and the aliases will be added to the existing records.
- In the Node Type field enter a name for the node. The default name is the name of the tag. Change this if necessary.
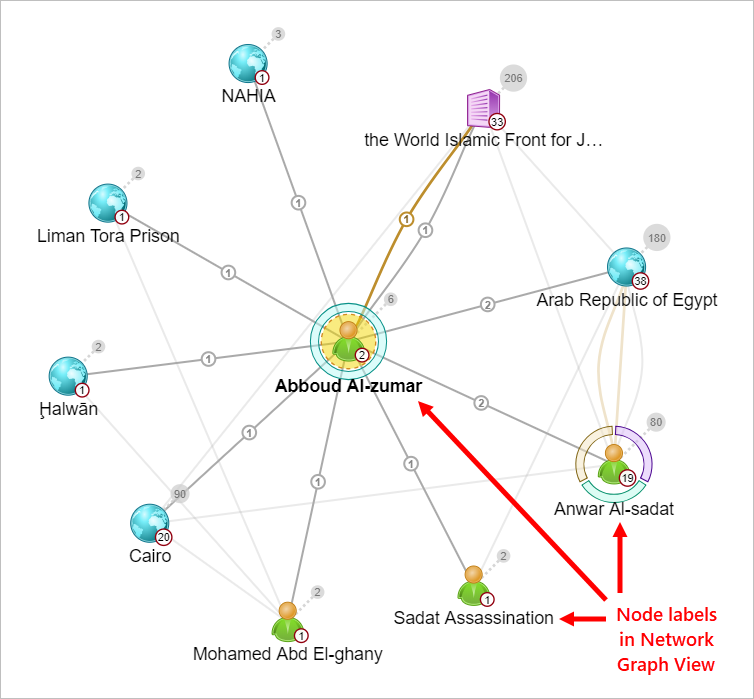
- From the Node Label dropdown list select the label you want to use for nodes in the network.
- By default, all of the columns in the CSV file will be shown as fields in the node. To deselect one or more columns click ‘Select columns from CSV’, deselect the columns you want to remove then click Apply.
- To specify the field type for one or more columns (‘string’ will work for any type of data), click in the Field Type cell below the column heading then select the field type. If the values in a column consist of:
- text, choose string
- numbers, choose integer
- long integers, choose long
- decimal numbers, choose double
- Boolean data, choose Boolean then enter the value that indicates ‘true’ and the value that indicates ‘false’ (any other values in the column will be ignored)
- dates and/or times, choose datetime then either enter the date/time format (for a full list of pattern letters click here) or click the light bulb icon
 at the end of the field and choose from a list of commonly-used pattern letters
 - If there are multiple values in some cells in a column (for example, several aliases for a person), tick Multi-valued then specify the character used to separate the values (such as a comma or semi colon).
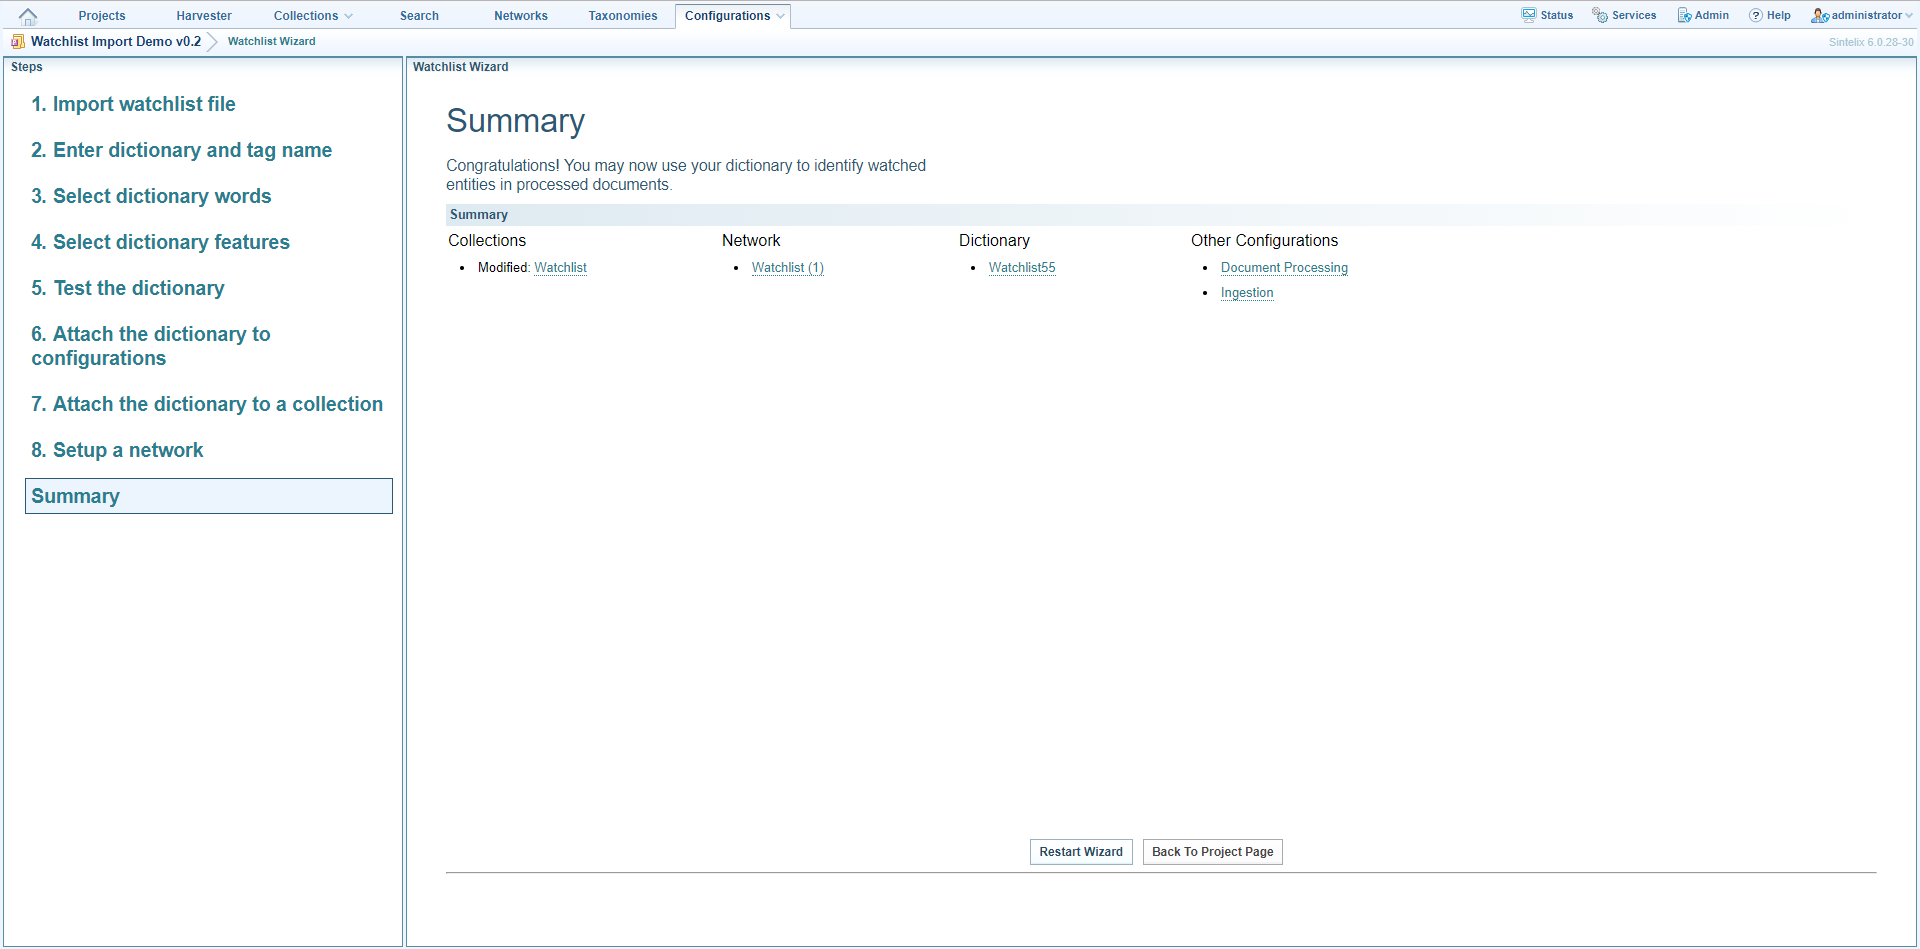
- Click Finish.
- Do one of the following:
- To close the wizard and go to a collection, network, dictionary or configuration that you selected or created in the wizard, click on the name of it.
- To restart the wizard click Restart Wizard.
- To go to the project page for the current project click Back To Project Page.
The wizard is displayed.
Step 1: Import CSV file
The first few rows of the file are displayed.
Step 2: Enter dictionary and tag name
Step 3: Select dictionary words
It is best to select a column with unique information (for example, names of people or organisations) so that the same text is not matched by multiple entities.
Step 4: Select dictionary features
Dictionary features are additional details about words and phrases that you can view with marked up text, such as a person’s date of birth and phone number or an organisation’s address. You can view these details in several places in Sintelix, for example, when you select a text reference in a document or when you view the details of a node in a network.
You will be able to see an example of the feature titles on the next screen in the wizard.

Step 5: Test the dictionary
The Document pane shows an example of the way a document would look after your watchlist dictionary has been used to markup text.
If you are not satisfied with the results, click the back arrow at the bottom of the screen and change your settings. For example, if you entered the name of a watchlist entity but it was not marked up, return to step 3 in the wizard and check that you have selected the correct column as the ‘dictionary words’.

If you are not satisfied with the features and/or feature titles that are shown, return to the previous screen in the wizard then select different columns and/or edit the feature titles.
Step 6: Attach the dictionary to configurations
You now need to attach the dictionary to a document processing and ingestion configuration and choose the document processing stage in which the dictionary will be applied.
Step 7: Attach the dictionary to a collection
Step 8: Set up a network
In this step you enter details about the network that will be generated from your watchlist.
In most cases you would select the name field as this will enable you to quickly identify nodes in Network Graph View.
The wizard checks the column for data that matches the field type you selected. If none of the data matches, the column is coloured red.
Summary
You can now use the dictionary to identify watchlist entities in document collections.
Date and Time format for Importing Watchlist CSV Files
When you import a watchlist into Sintelix, if one of the columns in the CSV file A Comma Separated Variable file, where variables in the file are separated by a comma, a tab, a semicolon or another character. contains dates and/or times you can specify the pattern in which they are formatted so that they are displayed correctly is node fields. : Pattern letters in datetime formats shows the pattern letters. : Examples of date and time patterns shows examples of date and time patterns.
Pattern letters
|
Letter |
Date or time component |
Presentation |
Examples |
|---|---|---|---|
|
G |
Era designator |
Text |
AD |
|
y |
Year |
Year |
1996; 96 |
|
Y |
Week year |
Year |
2009; 09 |
|
M |
Month in year |
Month |
July; Jul; 07 |
|
w |
Week in year |
Number |
27 |
|
W |
Week in month |
Number |
2 |
|
D |
Day in year |
Number |
189 |
|
d |
Day in month |
Number |
10 |
|
F |
Day of week in month |
Number |
2 |
|
E |
Day name in week |
Text |
Tuesday; Tue |
|
u |
Day number of week (1 = Monday, ..., 7 = Sunday |
Number |
1 |
|
a |
Am/pm marker |
Text |
PM |
|
H |
Hour in day (0–23) |
Number |
0 |
|
k |
Hour in day (1–24) |
Number |
24 |
|
K |
Hour in am/pm (0–11) |
Number |
0 |
|
h |
Hour in am/pm (1–12) |
Number |
12 |
|
m |
Minute in hour |
Number |
30 |
|
s |
Second in minute |
Number |
55 |
|
S |
Millisecond |
Number |
978 |
|
z |
Time zone |
General time zone |
Pacific Standard Time; PST; GMT-08:00 |
|
Z |
Time zone |
RFC 822 time zone |
-0800 |
|
X |
Time zone |
ISO 8601 time zone |
-08; -0800; -08:00 |
Examples of date and time patterns
The examples below show how date and time patterns are interpreted in the US locale. The given time and date are 2017-07-04 12:08 local time in the US Pacific Time time zone.
|
Date and time pattern |
Result |
|---|---|
|
"yyyy.MM.dd G 'at' HH:mm:ss z" |
2017.07.04 AD at 12:08:56 PDT |
|
"EEE, MMM d, ''yy" |
Wed, Jul 4, '17 |
|
"h:mm a" |
12:08 PM |
|
"hh 'o''clock' a, zzzz" |
12 o'clock PM, Pacific Daylight Time |
|
"K:mm a, z" |
0:08 PM, PDT |
|
"yyyyy.MMMMM.dd GGG hh:mm aaa" |
02017.July.04 AD 12:08 PM |
|
"EEE, d MMM yyyy HH:mm:ss Z" |
Wed, 4 Jul 2017 12:08:56 -0700 |
|
"yyMMddHHmmssZ" |
170704120856-0700 |
|
"yyyy-MM-dd'T'HH:mm:ss.SSSZ" |
2017-07-04T12:08:56.235-0700 |
|
"yyyy-MM-dd'T'HH:mm:ss.SSSXXX" |
2017-07-04T12:08:56.235-07:00 |
|
"YYYY-'W'ww-u" |
2017-W27-3 |