Timeline Node Selection
What is it?
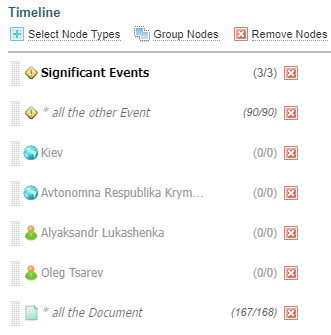
The Timeline Node Selection allows you to select, sort, group and remove entity nodes from the Timeline Graph.
Shortcut Menus
Right-click on a node label to access the node menu, which can be different for an individual node, grouped node or *All the nodes:
What you can do
The Timeline Node Selection allows you to:
-
Group nodes into one line with a label
-
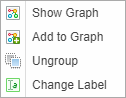
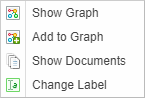
Right-click on a node label to access the node shortcut menu:
-
Change Label of a node, node group or *all the node types
-
Create a new Network Graph from a selected node, node group by selecting Show Graph

Result: This creates a new Network Graph and opens the Network Graph tab. See Network Graph Analysis.
-
Add a node, node group to an existing Network Graph by selecting Add to Graph

Result: A message is displayed confirming the selected node(s) were added.
-
Show the documents associated with the node by selecting Show Documents
 .
.Result: This opens the Documents pane.
Quick Demo: Timeline Node Selection
Click on image to open in full window.
Add Node Types
Nodes can be added to the Timeline in different ways. For example, you can select Add to Timeline from a Network Table or Graph, and you can right click on nodes on the timeline to add selected nodes to the timeline. The Select Node Types option adds all nodes of a type, and the label begins with * all the.
To select Node Types to add to the Timeline:
-
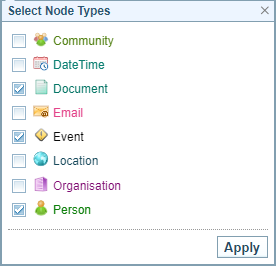
Click on Select Node Type

Result: The Select Node Types dialog is displayed:

-
Select and unselect the node types until only the node types you want are selected.
-
Select .
Result: The node list is updated to include the selected node types.
When a node type is selected, the display shows "*All the type", representing all nodes of that type
Group nodes
You can group individual nodes into one line on the timeline, and give it a label. This can be useful, for example, when analysing a related group of events or persons.
To group individual nodes in a group, you must have at least two individual nodes added to the timeline.
-
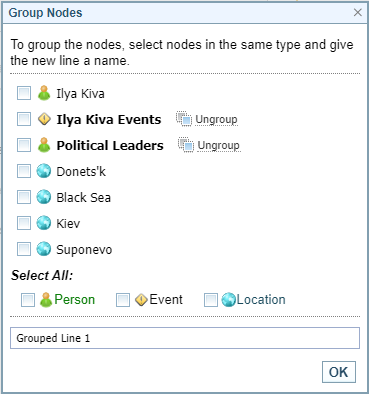
Select the Group Nodes option

Result: The Group Nodes dialog is displayed.
-
You can:
-
individually select nodes to group, or
-
select all nodes of the same type by selecting the node type under the headings Select All

You can quickly ungroup existing groups, by selecting the Ungroup option
 next to the group name.
 -
-
Enter a name for the group and select .

Remove nodes
You can remove nodes from the timeline by selecting either the:
-
Remove from Timeline icon
 next to the label, or
 -
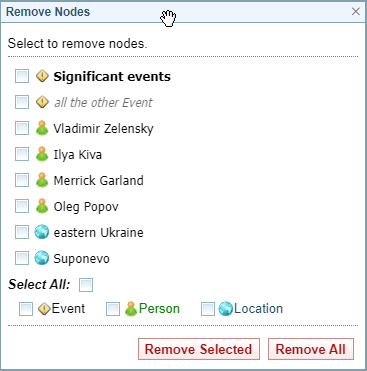
Remove Nodes option

Result: The Remove Nodes dialog is displayed.
-
You can either select:
-
individual nodes and then select Remove Selected
-
node type(s) and then select Remove Selected, or
-
Remove All to remove all nodes from the timeline.
-
Ungroup grouped nodes
To ungroup grouped nodes, right click on the group label and select Ungroup  .
.
See Group nodes for another way to ungroup nodes.
Change Label
You can change the label of an individual node, grouped nodes or * All the nodes.
-
Right click on the label and select
 .
. -
Result: The Change Label dialog is displayed.
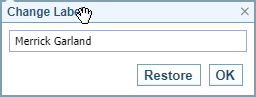
-
Enter a label name and select .
If the label is for an individual node or *All the node type (not a grouped node), you can restore the original name by selecting .