Configure Network Timeline Views
Background
Timeline Templates are created and saved from the Network Timeline View. See Timeline Templates
Network Timeline Views configuration allows you to manage the Timeline View Templates, including rename, copy, import, export and delete.
You can assign a Timeline Template as the default Timeline View for an entity node. See Ontology Configuration
Access
To manage Network Timeline Views, select Configurations > Network Timeline Views
Copy to This Project or Another Project
-
Select the Copy icon
 next to the View you want to copy.
 -
Choose to copy to the Same Project or Other Project.
-
If copying to another project, select the project from the Project dropdown list.
-
Enter a name for the View.
-
Select .
Copy From Another Project
You can copy a View from the same project or from a different project.
-
Select the Copy From tab.
-
Select the project from the Project dropdown list.
-
Select the View configuration, and click .
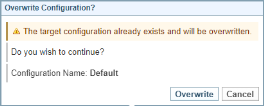
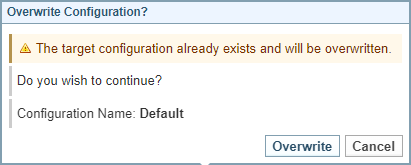
Result: If the Configuration Name already exists, then a dialog will ask to confirm.
-
To replace the existing View with the copied View of the same name, select , otherwise select .
Export
To export a View, select the Export icon  next to the View.
Result: The xml file will be downloaded: name.timeline.xml
Import
-
Select Import > Choose File.
-
Select the name.timeline.xml file you want to import.
-
If you want to rename the view, enter the new name, and then select .
Rename
To rename a View:
-
Select the Rename icon
 next to the View you want to rename
 -
Enter the new name
-
Select
Delete
To delete a View:
-
select the Delete icon
 next to the View
 -
select Close & Delete to confirm deletion.