Ontology Configuration
Introduction
What is Ontology?
The ontology is used to define the:
- classes that make up the entities and text references, and
- link types in your project.
Once the classes and link types have been defined in the Ontology configuration, they can be assigned to the Network Creation configuration.
The classes and links assigned to a Network Creation configuration are applied during ingestion.
The Ontology and Network Creation configurations need to be defined before documents are uploaded to your collection A collection is a container for storing and organising ingested files and documents. Only the textual content is stored in collections, not the original files and documents. so they can be applied during ingestion.
The Ontology can also be used to manually markup and modify document text references and connections.
Configure an Ontology
To configure an ontology:
- Open the project for which you want to configure an ontology.
- Select the Configurations tab.
- Select the Ontologies configurations option.

-
Select the required configuration.
(See Manage Configurations for information on managing configurations, including creating, copying, importing, exporting and deleting.).
- Make the required changes as detailed below.
- Select Save at the bottom of the Ontology Configuration panel.

Configuring Classes
Class Types
There are three types classes:
 Document Entity - represents entities such as people, organisations and locations.
Mentions in documents are marked up as text references then grouped into document entities by automatic entity resolution. The entities become nodes in networks.
This is the default option when you create a new class.
 Text Reference Only - represent non-entities (text reference only) such as job titles, gender, etc.
Mentions in documents are marked up as text references only and are not clustered as entities. Network nodes are not created from the text references unless this has been specified in the Network Creation configuration.
Non-entity classes exhibit no intradocument behaviour and are used for the static markup of document text.
 No Document markup - this markup type is reserved for concepts like ‘Community’, ‘Document’, ‘Topic’ and ‘Thread’.
 Instead of creating network nodes from text references, Sintelix creates nodes by analysing a collection as a whole. Any classes to which ‘No Document markup’ is assigned cannot be used to manually markup text. For example, the class ‘Document’ is assigned the type ‘No Document markup’ so you cannot use this class to markup text references, but Sintelix can add a node titled ‘Document’ to a network to represent a document.
Whether a class is an entity or non-entity affects how marked up document text behaves. For example, links can only be formed in a document between entity classes, and only entity classes will resolve in a document. Non-entity classes exhibit no intradocument behaviour and are used for the static markup of document text.
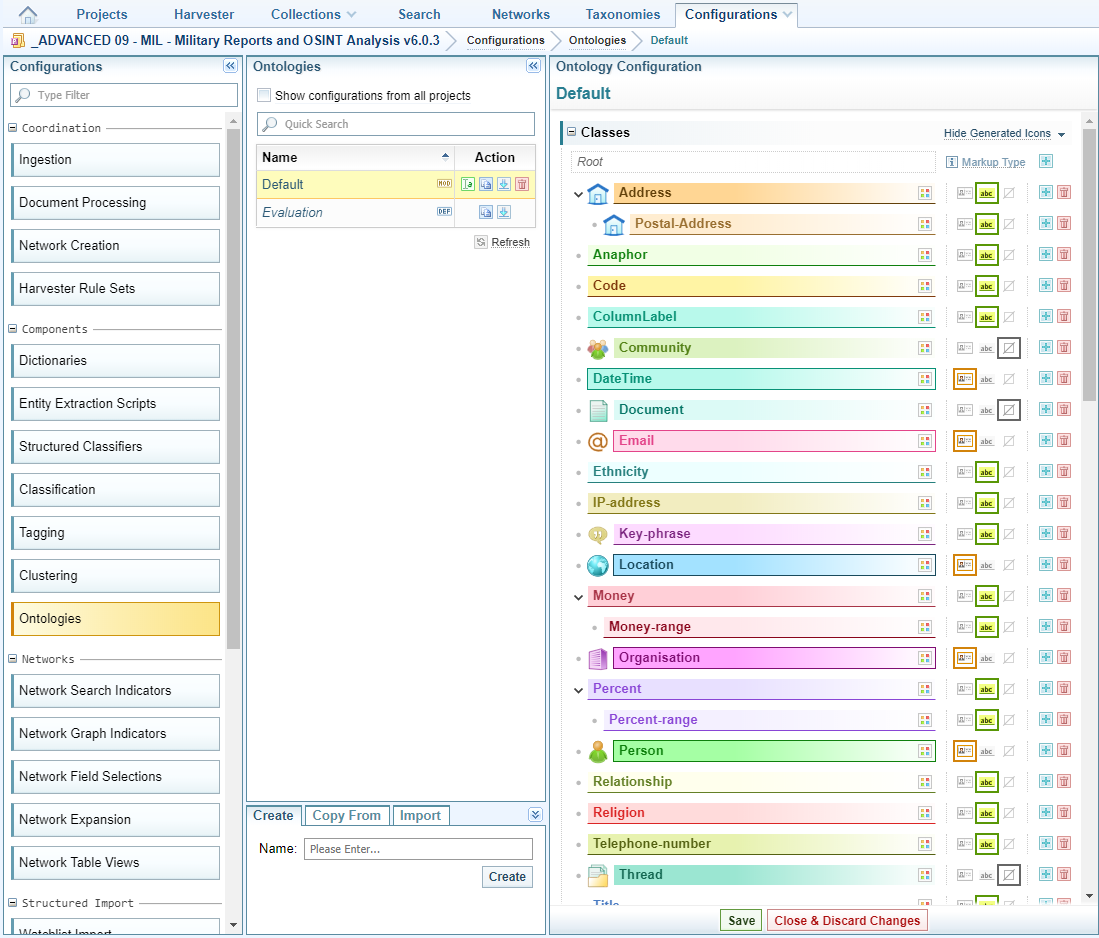
Quick Summary of Actions
Below is an example of class definitions.
![]()
| Symbol | Meaning | Action |
|---|---|---|
| |
Indicates no sub-classes. | |
| |
Expands or collapses associated sub-classes. | Select to expand or collapse the view. |
| |
A class has an icon assigned. |
Select the icon to change the icon. If there is no existing icon, you can either:
|
| |
Assigns background and foreground colours to the class. |
Select the Change colour icon, select the required colours and select Save. |
| |
Document Entity selection. The border indicates this type has been applied to this class. |
To change the class type, select the icon of the class type required. The selected class type is highlighted with a border. Only one type can be selected. |
| |
Text Reference Only selection. The border indicates this type has been applied to this class. | |
| |
No Document Markup selection. The border indicates this type has been applied to this class. | |
| |
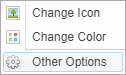
Action Menu. Select to open the action menu which allows you to change colours, change icon and control other options for this class, including the default:
In addition, you can choose whether to view the entity linked image or icon on the Network Graph nodes. |
Select to see the Action Menu.
See Assign Default Forms and View Settings for an entity node. |
| |
Add sub-class button. | Select to add a sub-class. See Create an ontology sub-class. |
| |
Delete class button. | Select to delete the class. See Delete an ontology class. |
| |
Name of the class. |
Hover over the name for instructions.
 |
Maintain ontology classes
Create an ontology class
To create an ontology class:
- Select the
 Add a new class button.
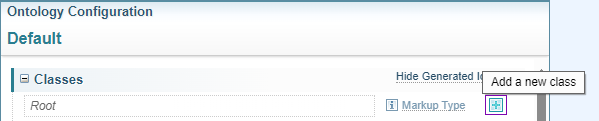
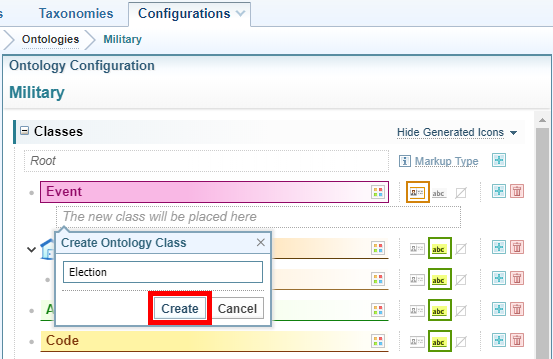
- Enter a name for the class then select Create.

- Select Save at the bottom of the Ontology panel.
Create an ontology sub-class
To create an ontology sub-class:
- Locate the class in which you want to create a sub-class then select the Add a sub-class icon.
- Enter a name for the sub-class then select Create.
- Select Save at the bottom of the Ontology Configuration panel.

Change the markup type of an ontology class
To change the markup type of an ontology class:
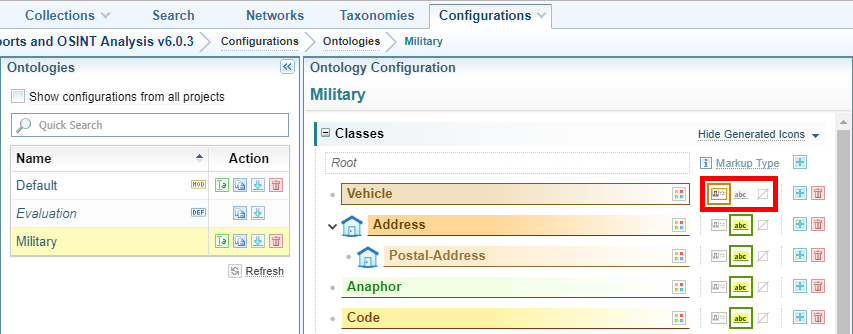
- In the column beside the name of the class, select on the markup type you want to apply to the class. Hover over each icon to see the name. The options are:
- Document Entity: mentions in the document are marked up as text references. They are grouped into document entities by automatic entity resolution. By default, they will become a node in networks even if they are not configured in the Network Creation configuration.
- Text Reference only: mentions in the document are marked up as Text References only. They remain separate - no document entities are created. No nodes are created unless configured in Network Creation.
- No Document markup: mentions are not marked up in the document. This class is used in the network only.
- Select Save at the bottom of the Ontology panel.
Change the colour of an ontology class
To change the colour of an ontology class:
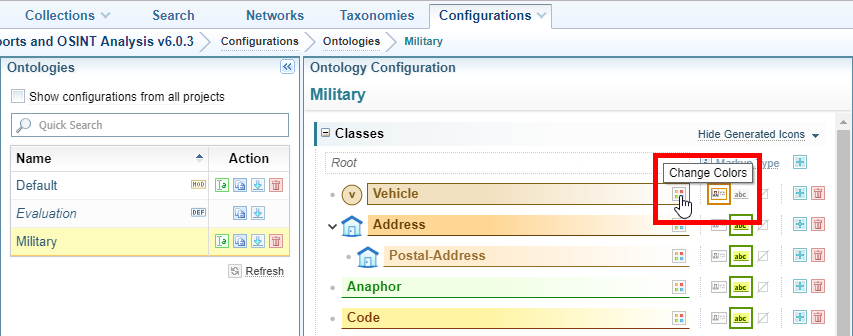
- Hover over the end of the heading for the class then select Change colours.
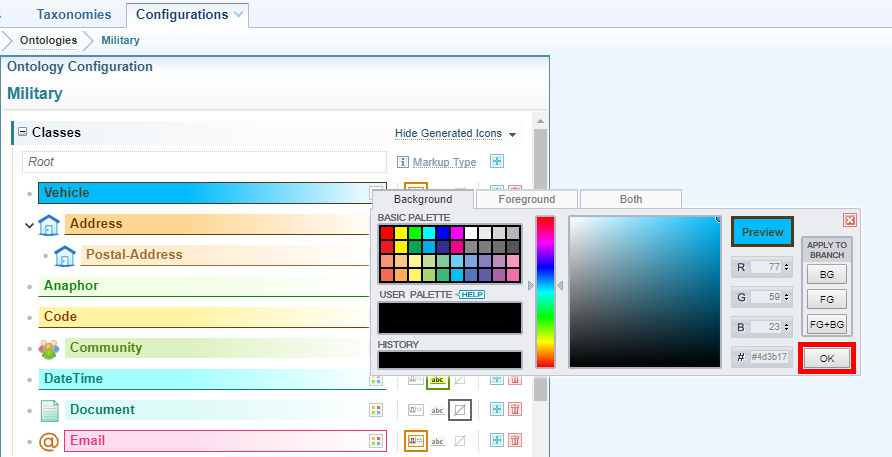
- Apply your colour changes then select OK.
- Select Save at the bottom of the Ontology panel.
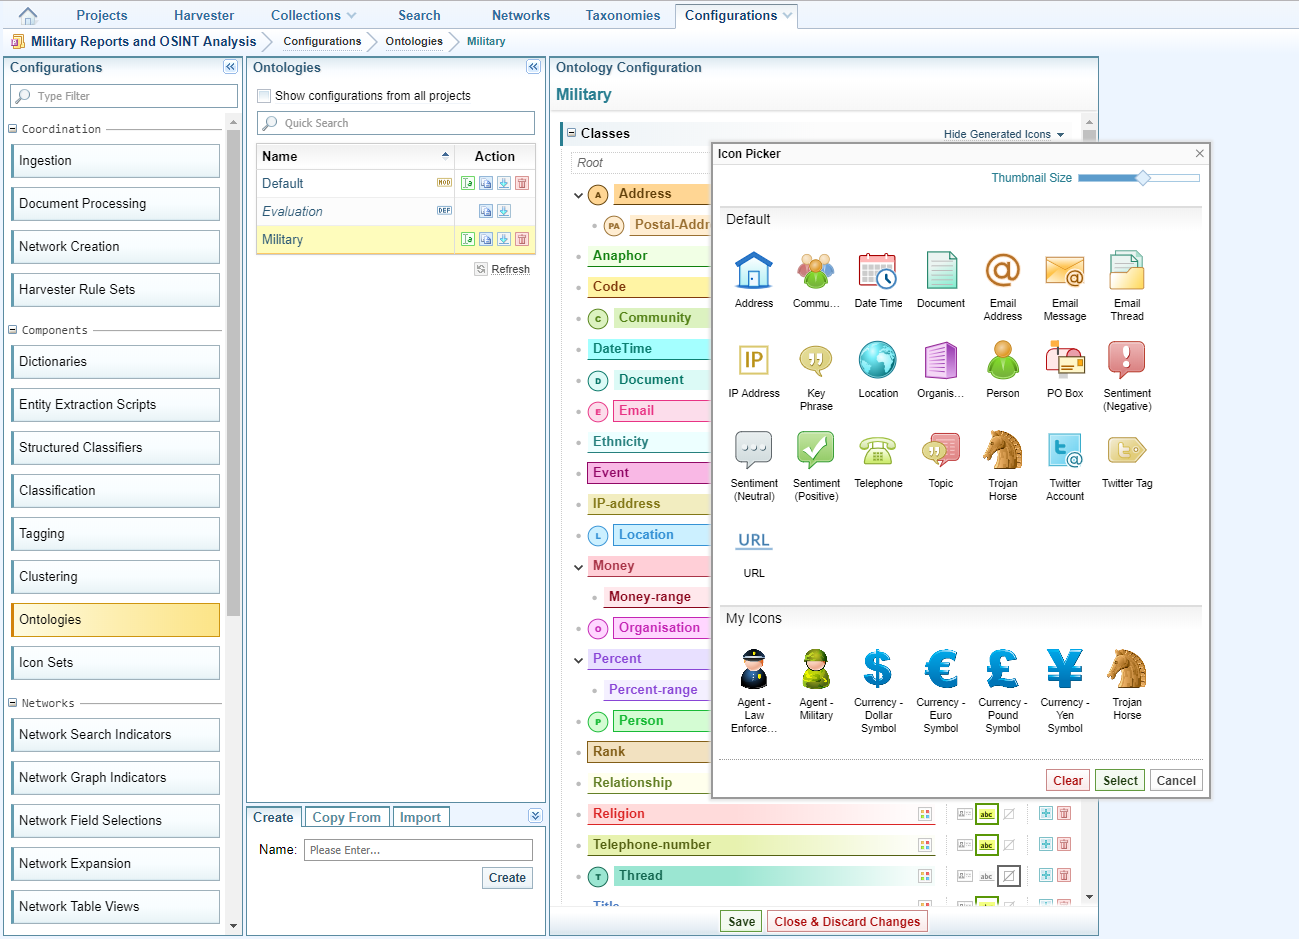
Change the icon for an ontology class
In Ontology configurations, a simple icon is displayed beside each class by default, based on the first letter of the name of the class. These icons also appear in networks. If you prefer to use other icons you can choose from Sintelix’s default set or upload your own (see Icons Sets).
To change the icon for an ontology class:
- Do one of the following:
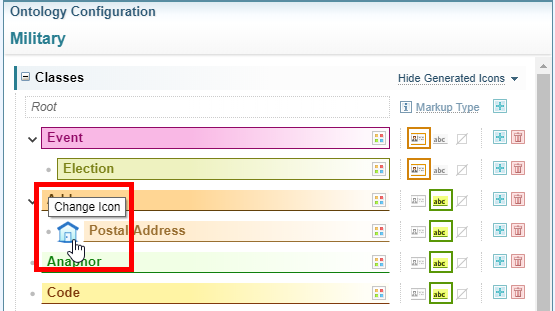
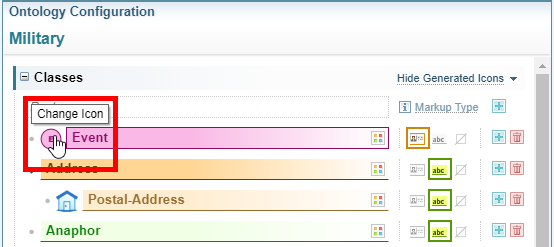
- If an icon is displayed beside the class, select on it.
- If an icon is not displayed beside the class, hover over the name of the class then select on the icon that is displayed.
- Select on the icon you want to use then select Select.
- Select Save at the bottom of the Ontology panel.
To restore the default icon select Restore Default.
Assign Default Forms and View Settings
You can assign default forms and view settings for an entity node.
-
Custom Forms can be designed for a specific class in Network Custom Templates configuration.
- The Search Form is used when conducting a Search the Network.
- The Report form and Edit form are used when viewing Node details from a Network Table view (by selecting the
 View, Edit & Report icon ).
 - The Creation form is used when adding a New Node item (by selecting Create New from the dropdown menu next to the node in the Network > Overview tab view).
-
Custom Table Views can be created and saved from the Network Table View, defining the table columns displayed (See Network Table Views and Layout). In the Configure Network Table Views configuration, you can create, rename, copy, export, import and delete a Table View. You can choose the default Table View to be displayed for each entity node.
-
Custom Timeline Views can be created and saved from the Network Timeline View, defining the nodes to be displayed (See Timeline Templates). In the Configure Network Timeline Views configuration, you can rename, copy, export, import and delete a Timeline View. You can choose the default Timeline View to be displayed for each entity node.
-
Linked Images. An image can be linked to an entity. When an entity has a linked image, you can choose whether to display the linked image or the assigned icon in the Network Graph. For example, an image of a person in a Person node, a logo for an Organisation, etc. may be useful when navigating a Network Graph.
To assign default forms and view settings to an ontology class:
- Select the Action Menu
 and select Other Options.
- For the required views, select the dropdown arrow and select the required form/view.
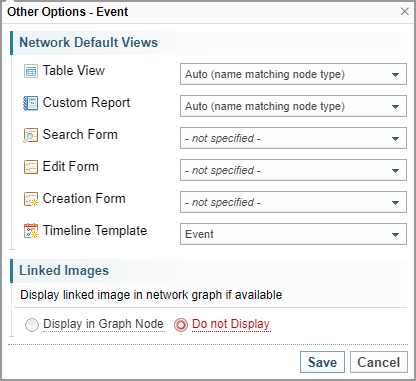
You can assign the same custom form as the default to all reports and forms, or you can design unique custom forms as required.
If table view, report, form or template have the same name as the entity class, then it will be assigned as the default to that entity class unless a different one has been assigned.
- Change the Linked Images setting, as required.
- Select Save to save the settings and close the dialog.
- Select Save at the bottom of the Ontology panel to save all of the Ontology settings.
The settings are not saved until selecting Save at the bottom of the Ontology panel.
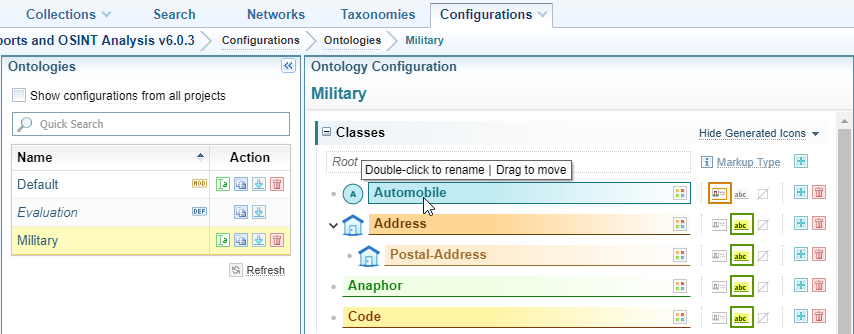
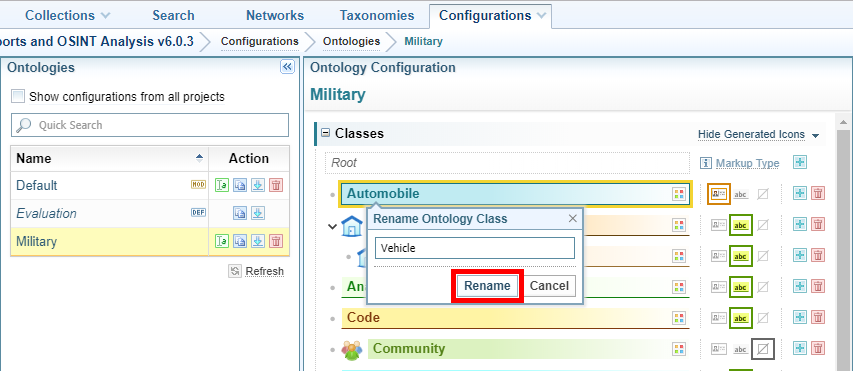
Rename an ontology class
To rename an ontology class:
- Double select on the class you want to rename.
- Enter a new name then select Rename.
- Select Save at the bottom of the Ontology panel.
Move an ontology class
By default, ontology classes are arranged alphabetically. You can change the order by dragging and dropping classes and sub-classes to a new location. This does not affect the functioning of the classes, only the display order on the screen.
To move an ontology class or sub-class:
- Select the class or sub-class you want to move, drag it to the new position then drop it.

You cannot undo a move but you can move the class or sub-class to the root class. Drag the class or sub-class to the top of the Ontologies Configuration pane then drop it on the Root class.
- Select Save at the bottom of the Ontology panel.

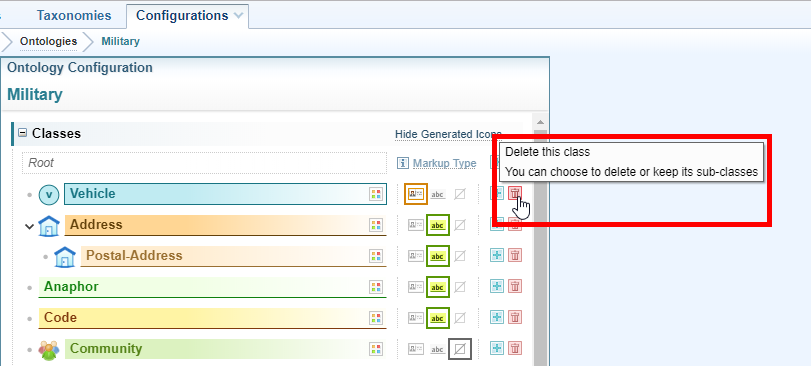
Delete an ontology class
To delete an ontology class:
- Select the Delete icon beside the class you want to delete.
- Select Delete.
- Select Save at the bottom of the Ontology panel.
Maintain ontology links
Create an ontology link type
Links can be manually marked up within a document. To do this, the link must be defined within the ontology.
To create an ontology link:
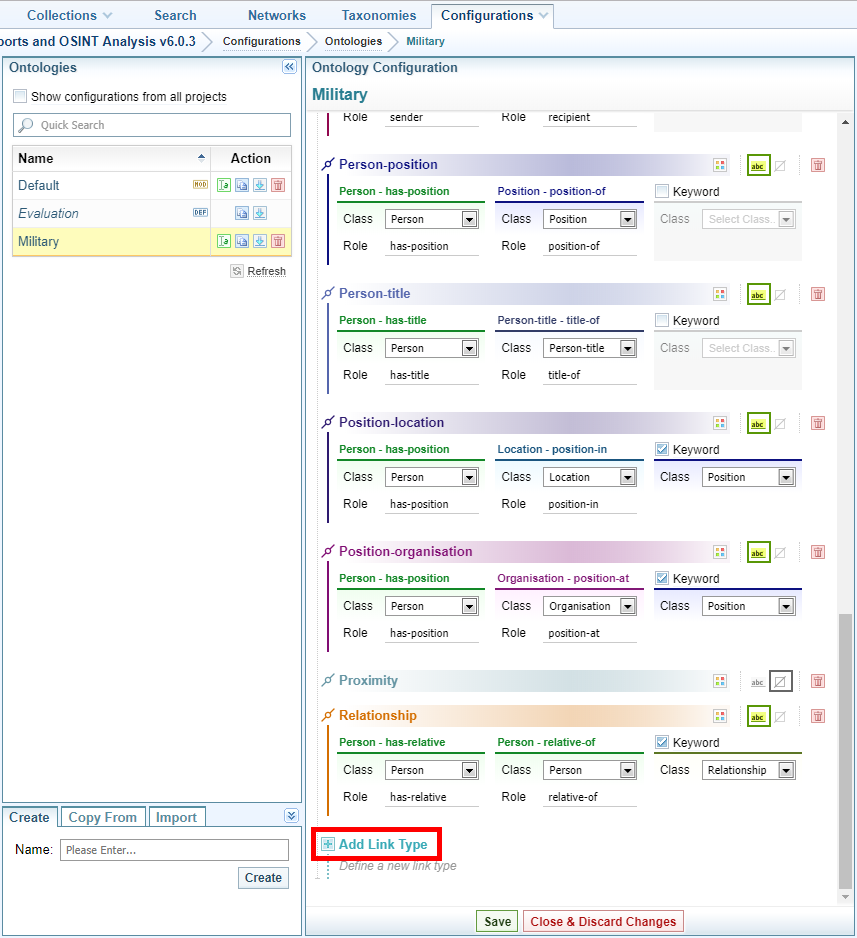
- Scroll to the bottom of the Ontology Configuration pane then select ‘ Add Link Type ’.
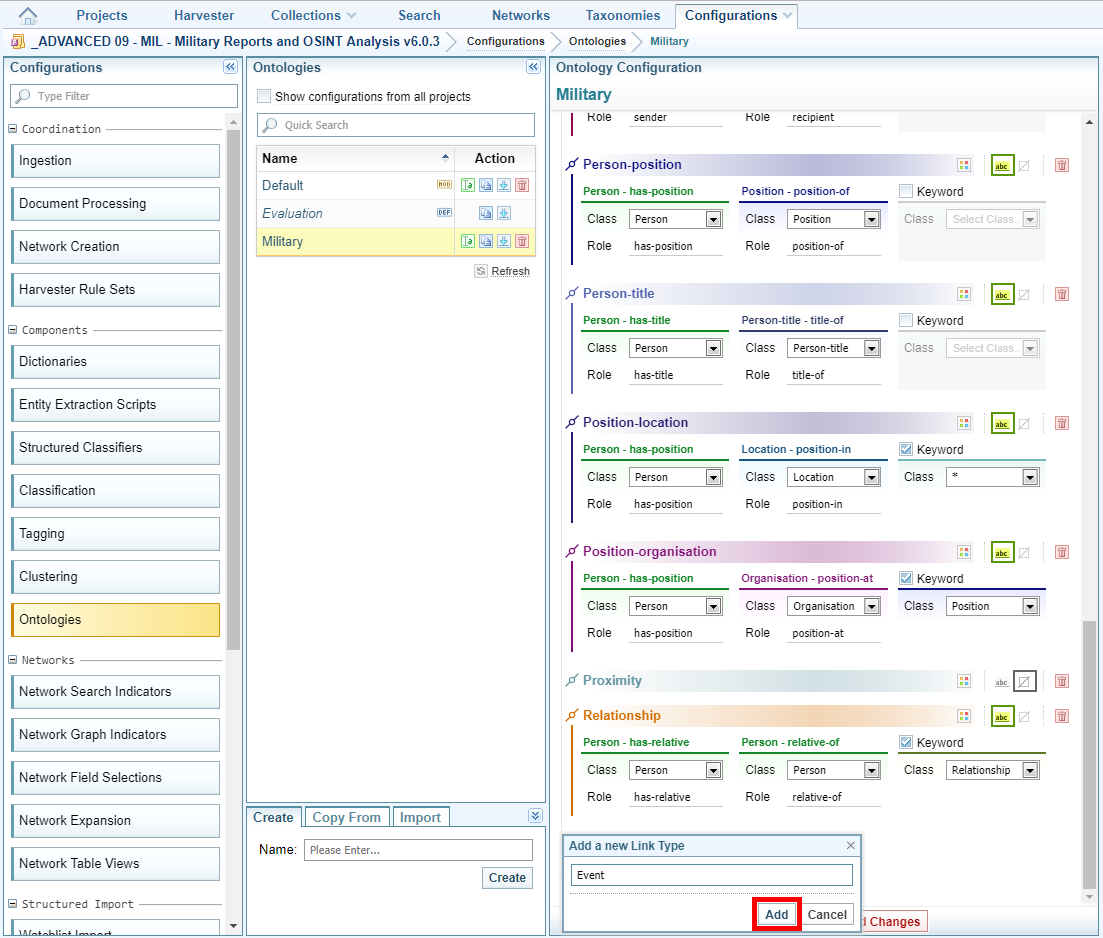
- Enter a name for the link type then select Add.
- Do one of the following:
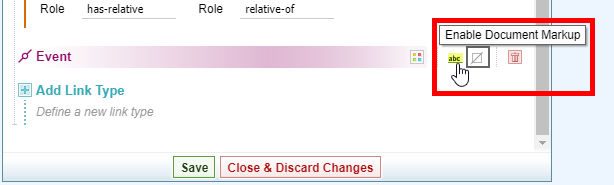
- To enable document markup, select Enable Document markup then do the following:
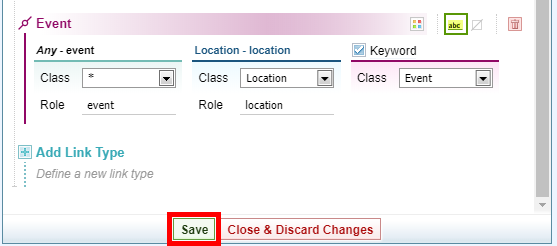
- Enter the class and role for one end of the link, then for the other end. The class that you select implies all of its sub-classes. To accept all classes, select the asterisk (*)
- To enable the use of keywords, tick Keyword then select the class.
- Select Save.
- If you do not want to enable document markup, select Save.
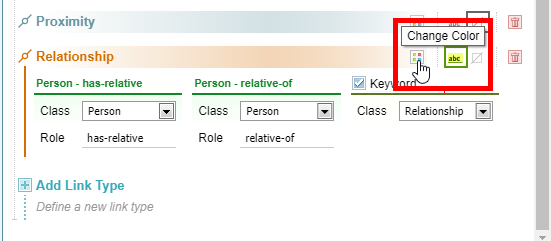
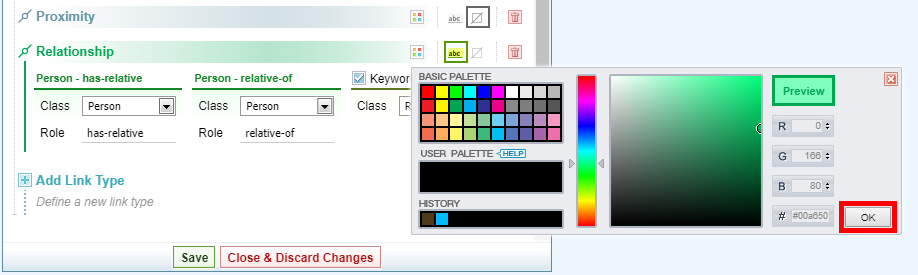
Change the colour of a link
To change the colour of a link:
- Select the Change colour icon
 at the end of the heading.
 - Apply your colour change then select OK.
- Select Save.
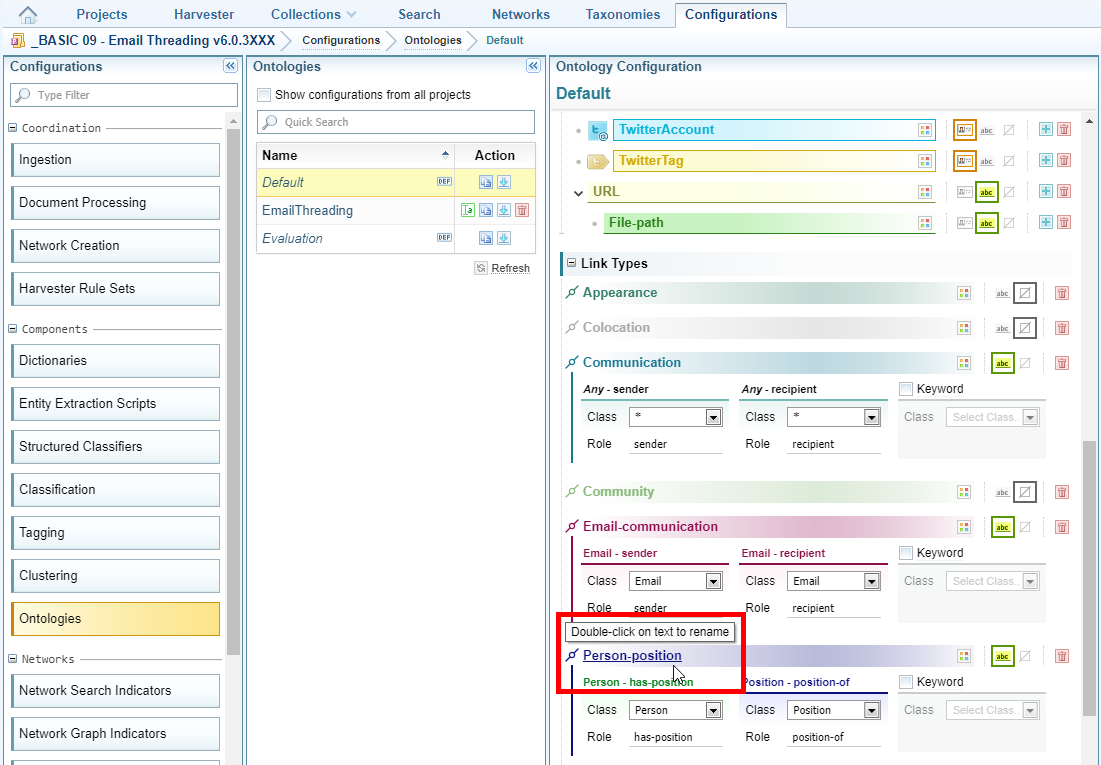
Rename an ontology link type
To rename an ontology link:
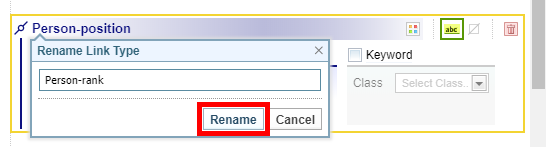
- Double select on the link you want to rename.
- Enter a new name then select Rename.
- Select Save.
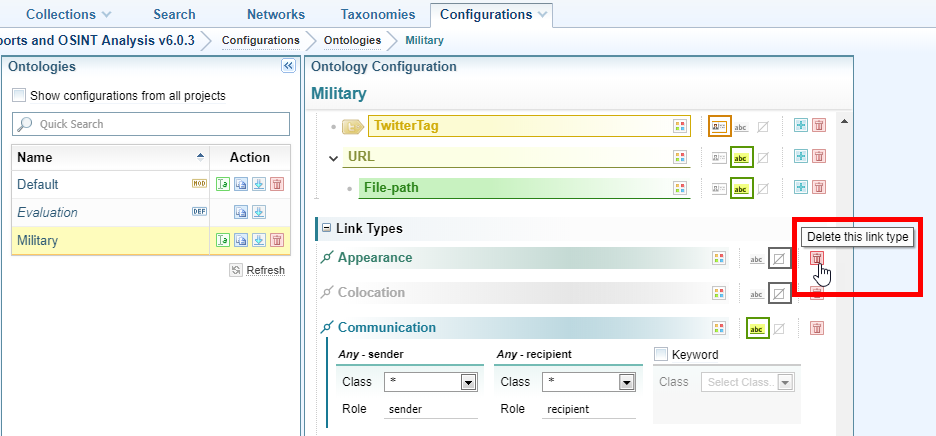
Delete an ontology link type
To delete an ontology link:
- Select the Delete icon
 beside the link you want to delete.
 - Select Delete.
- Select Save.