Install Sintelix on Windows
Quick Summary
Sintelix can be installed on any 64-bit Windows machine using the Sintelix Windows Installer. The installer can also be used to upgrade an existing installation to a newer version.
You will need Administrator rights to your PC or server to install Sintelix via the Windows Installer.
Before you begin
Before installing, please read:
- Sintelix Architecture Summary
- Sintelix Agent Installation Summary
- Requirements Before Installing Sintelix (particularly Folders required for installation)
- Preparing to Install Sintelix (particularly Decisions Prior to Installing)
Quick installation
If installing Sintelix and the Sintelix Agent on the same machine, you can simply:
- Run the Installer accepting the default settings
- Log in and activate Sintelix, the Sintelix Agent will automatically be connected.
Component Options
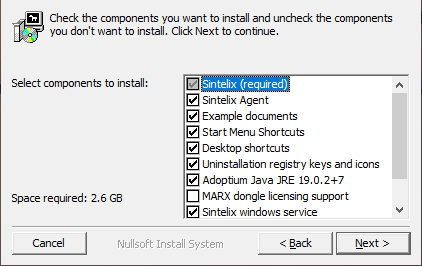
During installation you will be asked which Sintelix components you want to install. The table below describes the components available for selection.
| Sintelix (required) | Required. |
| Sintelix Agent |
Leave selected if you are installing the Sintelix Agent on this machine with Sintelix. |
| Example documents |
When learning to use Sintelix, it can be help to have example documents available. Unselecting this option can save some disk space. |
| Start Menu Shortcuts | Defaults to creating Start Menu shortcuts. |
| Desktop Shortcut | Defaults to creating a Desktop shortcut. |
| Uninstallation registry keys and icons |
Removes the uninstallation routine. Advanced Option: Recommend leave selected. |
| Adoptium Java JRE |
Sintelix installs its own copy of Java JRE and installs itself as a Windows service. It starts the Java VM with a memory limit of 12 GB. If you wish to use your own Java JRE, you can unselect this option. Advanced Option: Recommend leave selected. |
| MARX dongle licensing support |
If using a dongle to licence Sintelix, this component must be selected. See Dongle Licensing for more information. |
|
Sintelix windows service |
Allows users to configure the windows service to their specification. Advanced Option: Recommend leave selected. |
|
Disable Wikipedia features |
Removes references to Wikipedia embedded in Sintelix. Advanced Option: Recommend leave selected. |
Detailed instructions
- Double click on the Sintelix Installer file to start installation.
The installer will begin extracting. When finished the Sintelix Setup dialog will be displayed
- On the Welcome screen, select Next to continue.
- with this installation, leave Sintelix Agent checked.
- on a different machine, uncheck Sintelix Agent.
- To install Sintelix in a different folder, select Browse, go to the folder, or create a new one, then select OK.
- If the Sintelix Activation Key file is placed in the same folder as the Sintelix Installer file, the file name is automatically displayed.
- If upgrading Sintelix, the file name is automatically displayed.
- If the Sintelix Activation Key file is placed in a different folder, select the browse icon
 , go to the folder, then select Open.
 - To select a different folder, select the browse icon , go to the folder or create a new one, then select Open.
- To select a different folder, select the browse icon , go to the folder or create a new one, then select Open.
3. Select/confirm the components to install
Select the components you want to install, then click Next.
To install the Sintelix Agent:
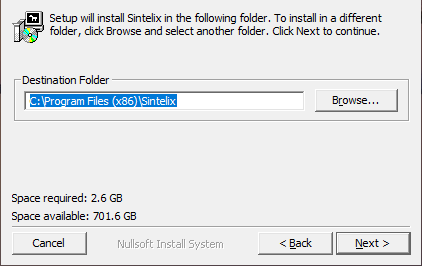
4. Modify the installation folder, if required
Modify the installation folder if required, select Next to continue.
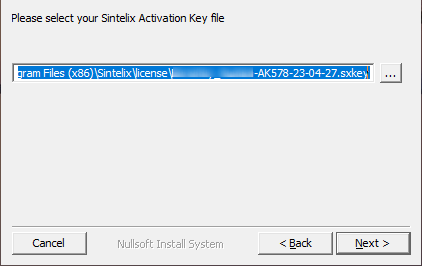
5. Select the Activation Key file
Select the Activation Key file, and select Next :
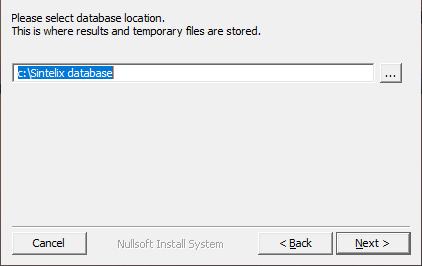
6. Modify the Sintelix database folder, if required.
Modify the Sintelix database folder, if required, then select Next :
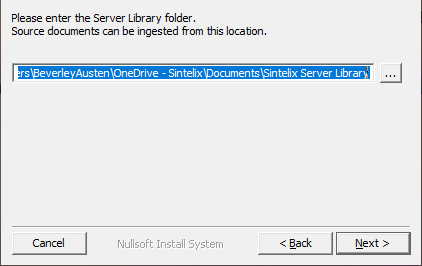
7. Modify the Server Library folder, if required.
Modify the Server Library folder, if required, then select Next :
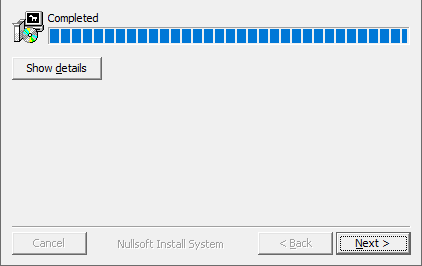
8. Wait for the installation to complete, then select Next to continue.
The installation starts, and may take a few minutes depending on the specifications of your computer.
If you want to view the details of the installation click Show Details.
After the installation is completed click Next.
9. Change the network ports, if required.
Enter the network ports you want to use, then click Next.
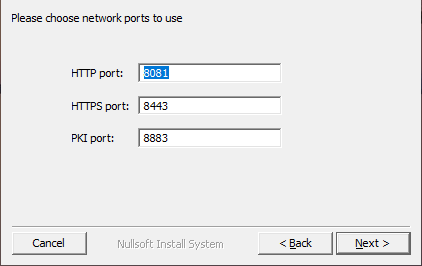
Result:
The installer will test the ports. If the ports are not available, a message will be displayed.
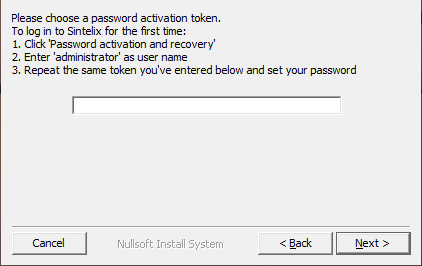
10. Choose a password activation token
Keep a record of the token as you will need it when you activate your Sintelix Administrator account.
11. Choose to Open Sintelix Portal immediately
To open the Sintelix portal immediately, select the Open Sintelix Portal Immediately check box and click Close. Ticking this option will enable you to find Sintelix on your system:
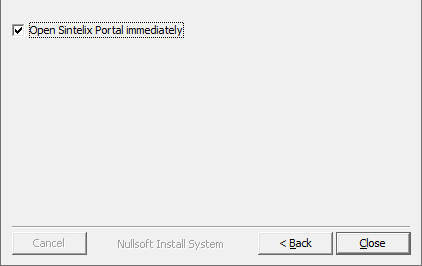
Result:
If you left the Open Sintelix Portal immediately checked, a browser window will open to start Sintelix.
Next steps
Once Sintelix has been installed, you need to Activate the administrator account and log in.