ANX Network Export Configuration: i2 ANB
Background
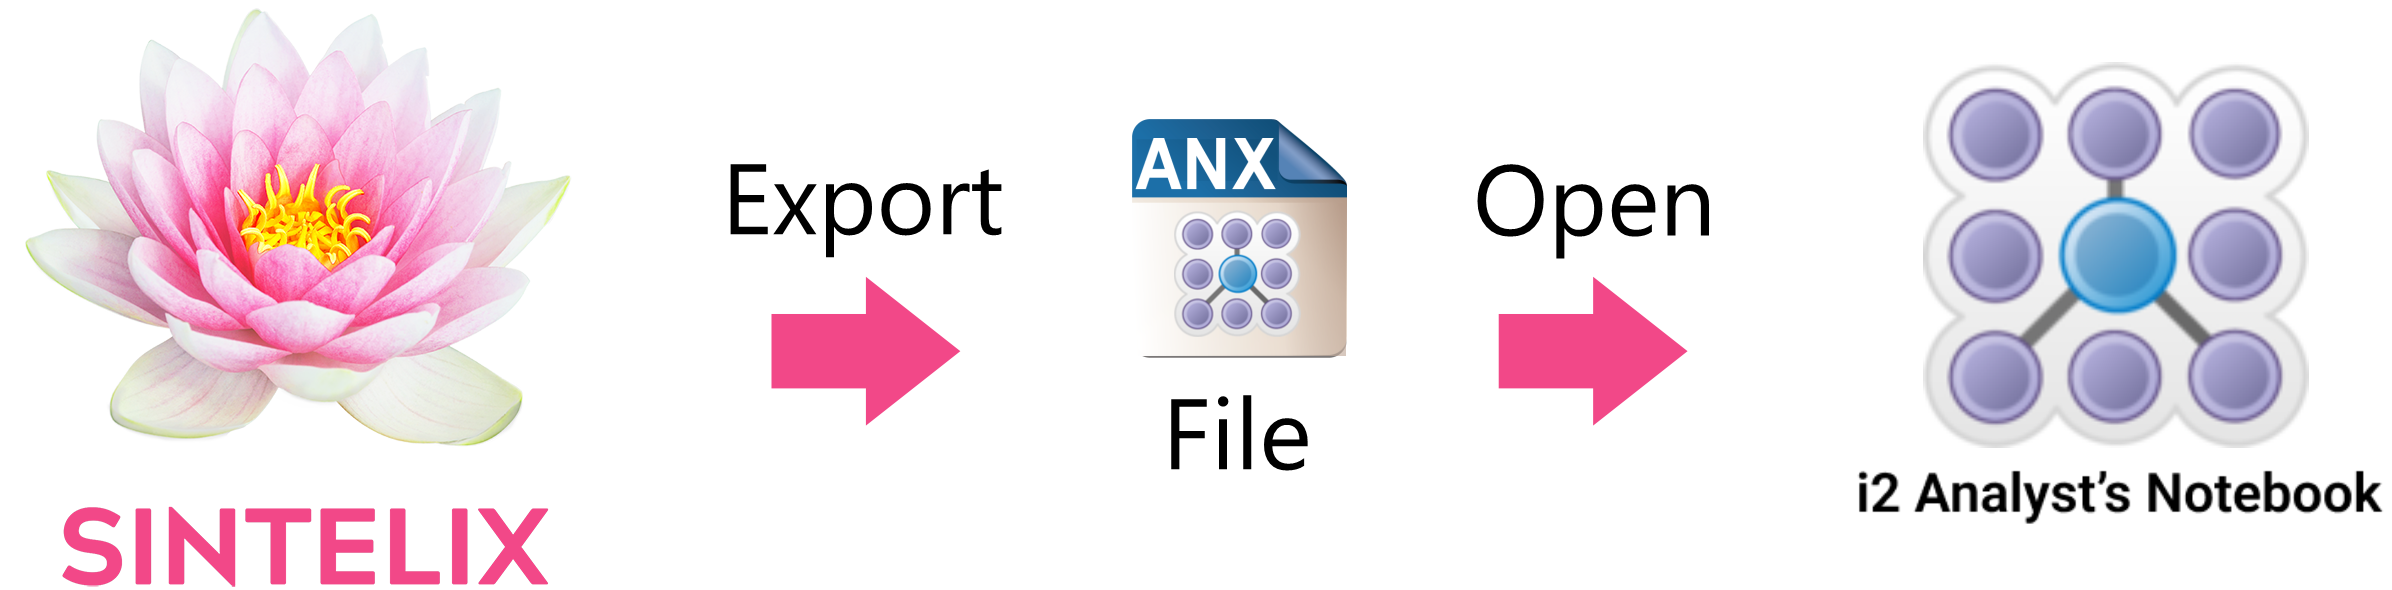
You can export a Sintelix Network or graph to be opened in the i2 Analyst's Notebook (ANB) with a single click. See Export to ANX for i2 Analyst's Notebook.
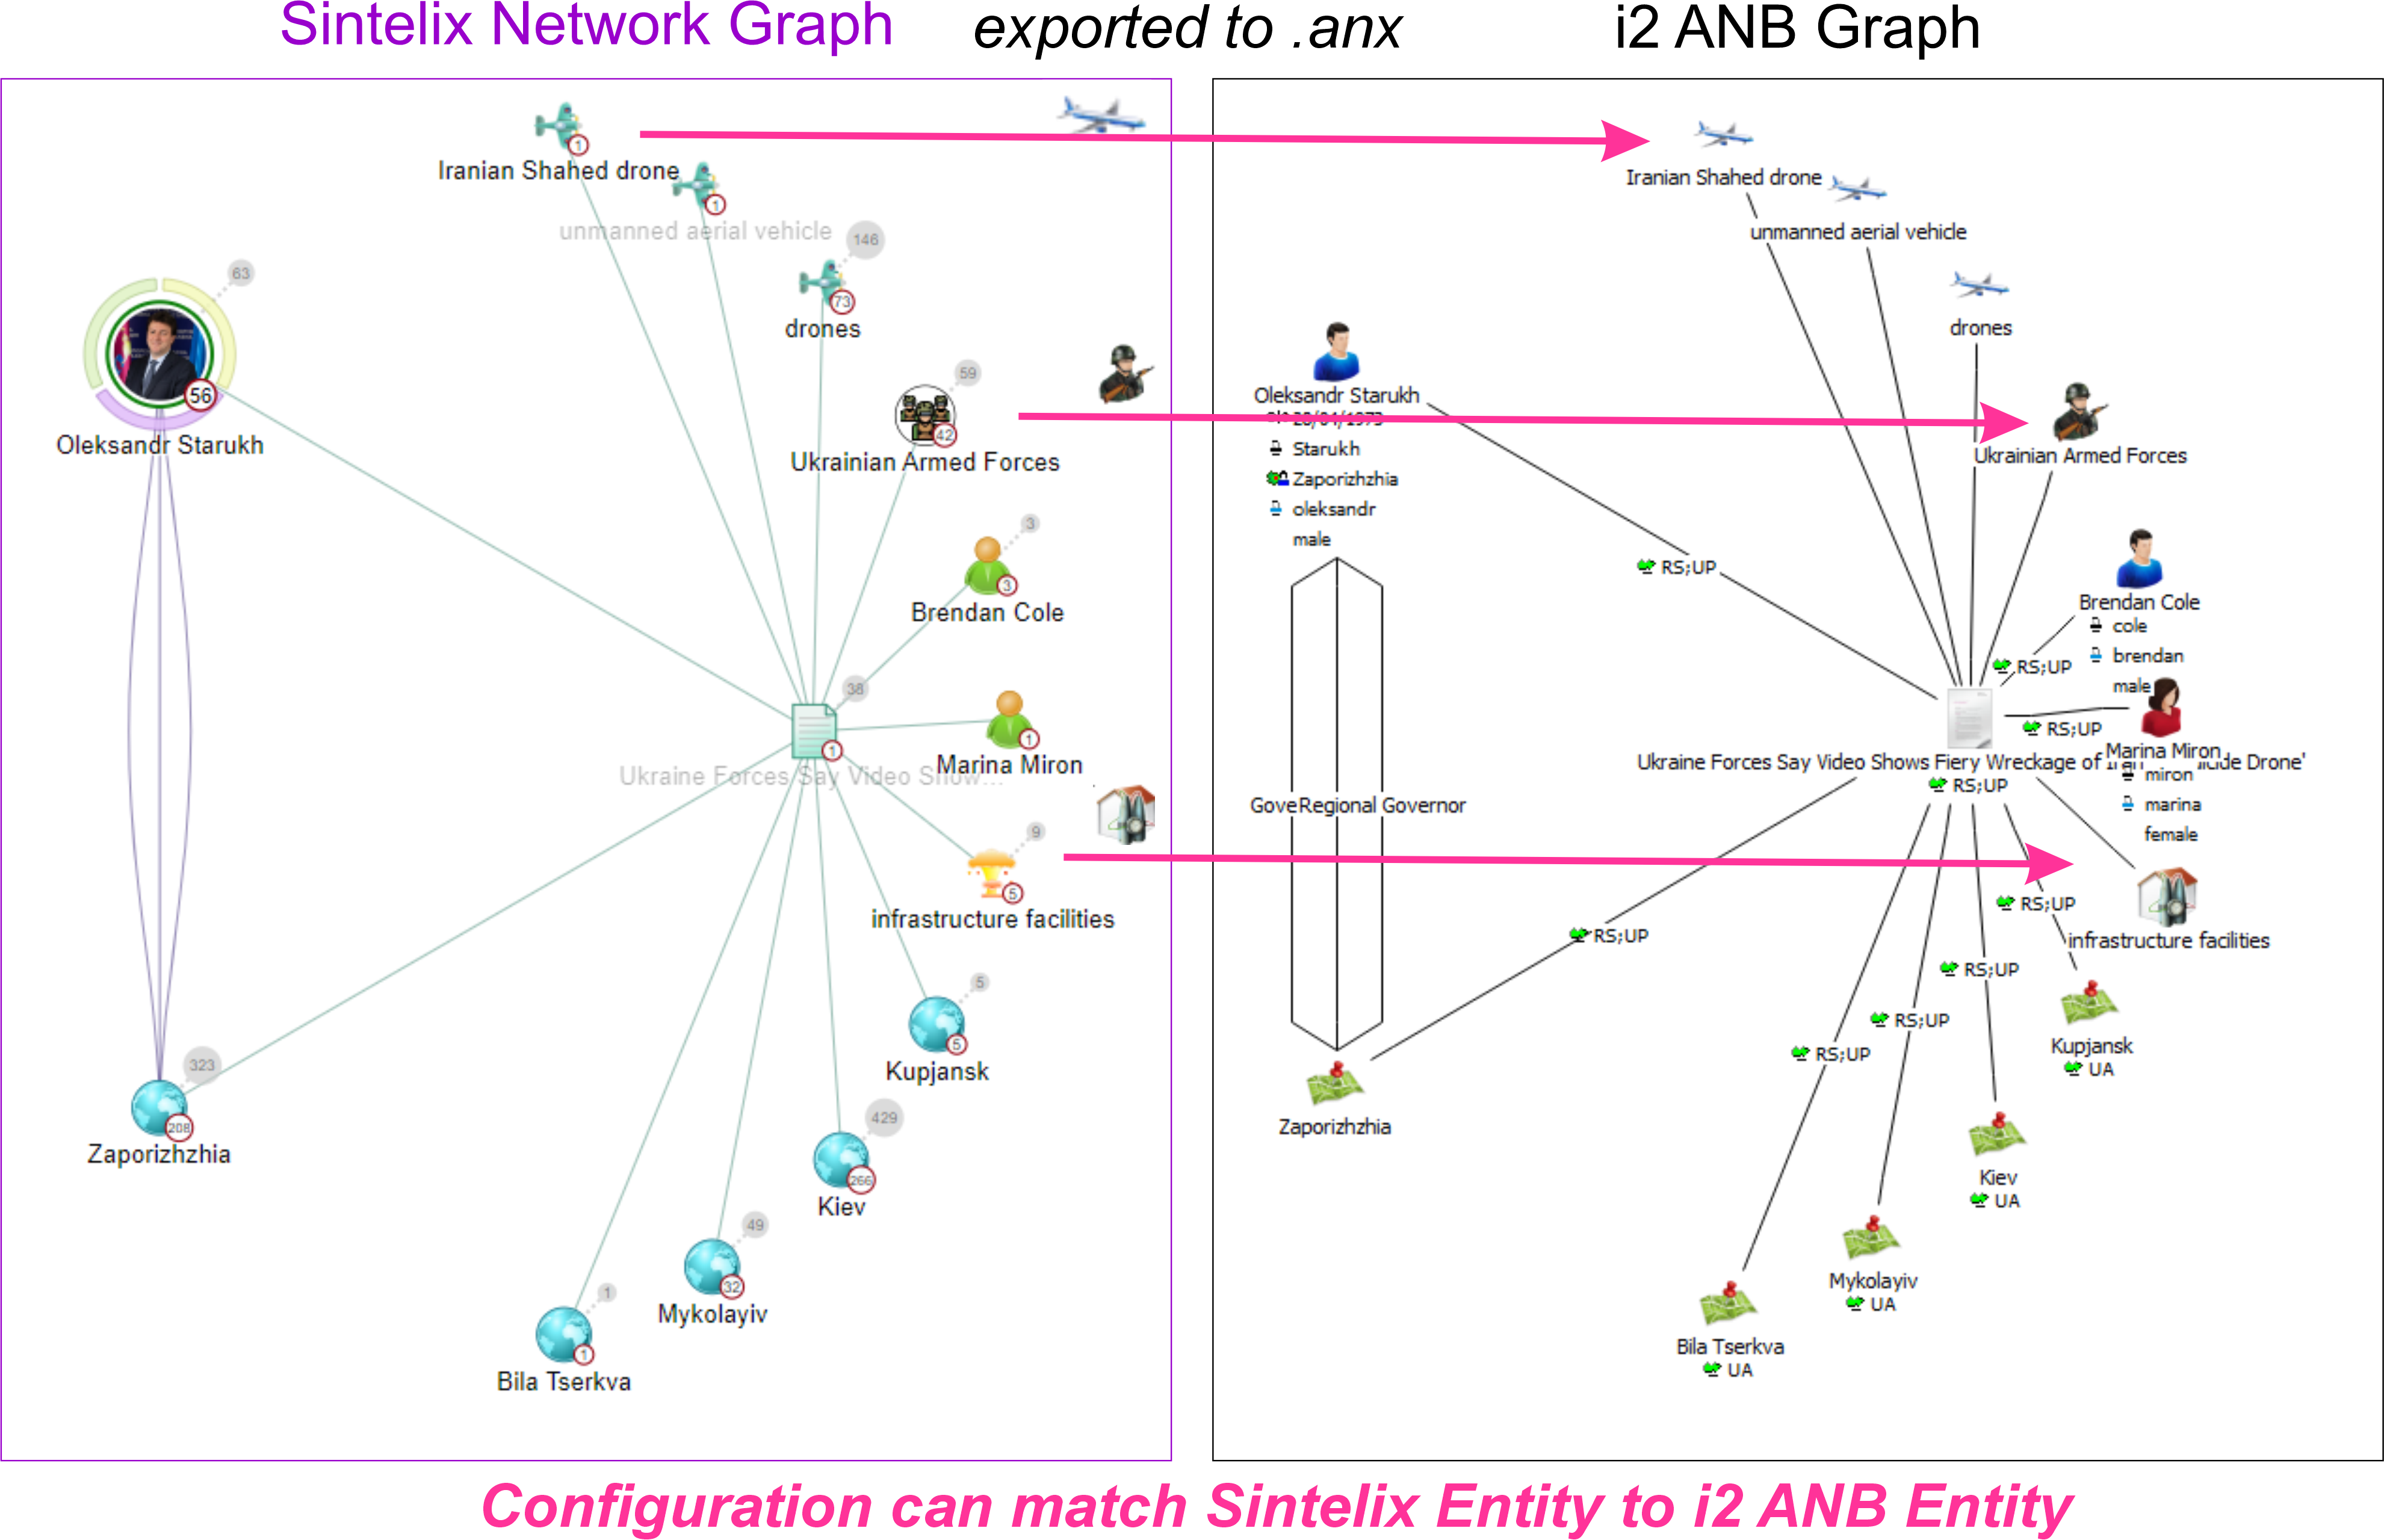
The ANX Network Export configuration allows you to define the Network entities, links and attributes to be exported, and can be matched with the i2 Network entities and links.
Example
For example, the Person entity in Sintelix can be matched to the Person entity type in i2 ANB, adopting the icon and formatting settings.
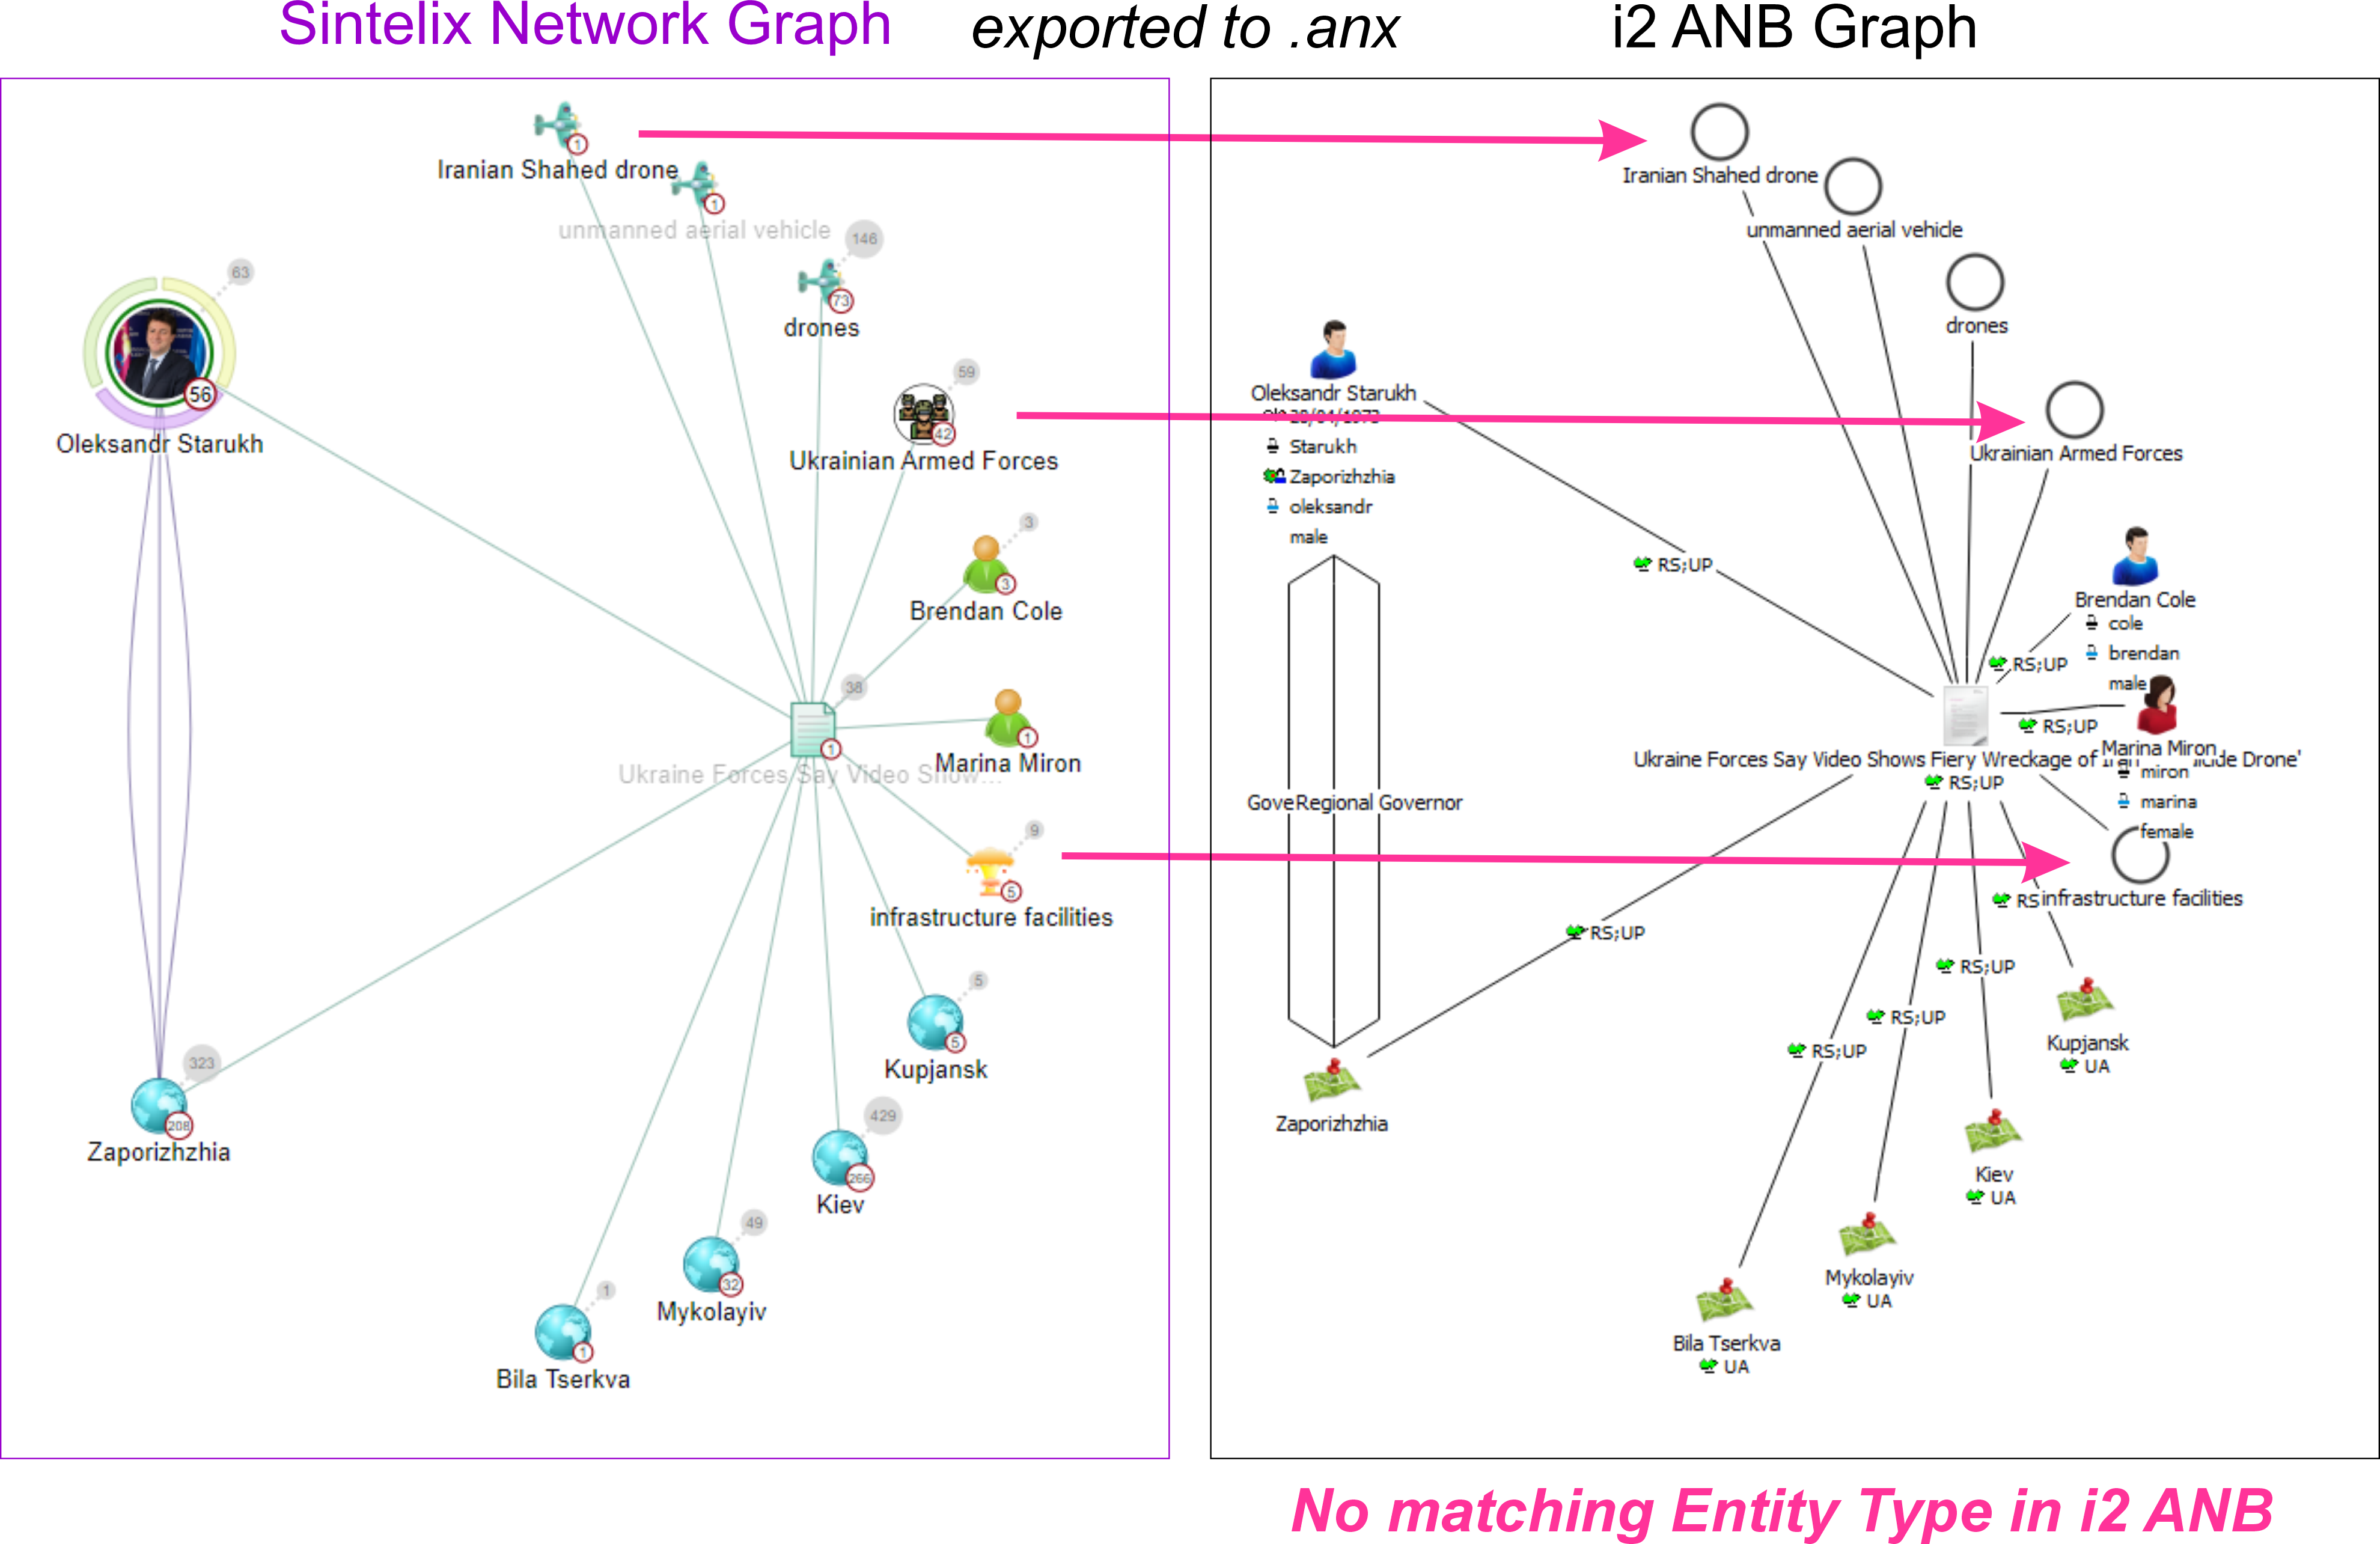
Entities exported that are not matched to an i2 ANB entity type will appear as an empty black circle.
Other i2 Export Options
Sintelix Networks can also be exported to an xml file to be imported into the following i2 applications: i2 iBase, i2 Analyse and i2 Information Store.
How it works
Sintelix makes creating the configuration simple by doing most of the hard work - identifying all the nodes, links and attributes in the selected Network and indicating if they are missing from the configuration.
You can quickly include all the selected Network nodes, links and attributes in the configuration so they are exported.
You can fine tune this configuration by:
-
adding or removing any nodes, links and attributes you do not want to export, and
-
matching the exported nodes and links to existing i2 ANB Entity types and Link types.
Summary Process
To configure the ANX Network Export, you:
-
Select Configurations > ANX Network Export.
-
Select or copy the configuration you want to modify.
-
Select network you want to base the export on.
-
Select the Add options to all map any missing nodes, links or properties:
-
-
(Optional) For each:
-
entity, add/update the Exported Entity Type field to match the i2 Entity Type name
-
entity, add the i2 Icon name (if different to the existing Entity Type set icon identified above) in the Icon Name field
-
link, update the Exported Link Type field to match the i2 Link Type name.
-
entity/link, add or remove assigned attributes, as required
-
-
Select Save.
Detailed Procedure
To configure the ANX Network Export configuration, you need to:
-
Select Configurations > ANX Network Export.
Result: The ANX Network Export screen is displayed.
-
Select or copy the configuration you want to modify.
Sintelix provides a Default configuration. It is recommended you create a new configuration by copying from the Default configuration or other customised configuration. It would be good practice to give it the same name as the Network you are basing the configuration on.
-
Select the network you want to export from the Select Network dropdown.
Result: Sintelix checks the settings against the network selected.
In the Reference Network pane, the status of all the node and link types from the selected network are shown.
 Indicates a node/link is not mapped in the configuration.
 Indicates the node/link is mapped in the configuration.
 indicates that the mapped node/link has some unmapped properties.
-
To add all missing nodes, select the All option displayed at the top of the nodes list:

-
To add all missing links, select the All option displayed at the top of the links list:

Alternatively, you can individually add each node/link by clicking the
icon next to the node/link. -
To add any unmapped properties for nodes/links, click on the unmapped properties notice:
-
You can choose to:
-
Remove individual attributes, by selecting the delete icon
 next to the attribute.
 -
Change the order of entities and links using the up
 and down
  arrows
 -
Remove an entire entity or link by selecting the delete icon

Once changes have been made, re-select the Network to refresh the Reference Network pane.
-
-
For each entity:
-
Check the Exported Entity Type for each node matches an Entity name in i2.
-
If the Sintelix Type matches the i2 Entity Type, you can leave the Exported Entity Type field empty.
-
If the Sintelix Type does not match the i2 Entity Type, Update the Exported Entity Type to match the i2 Entity Type name.
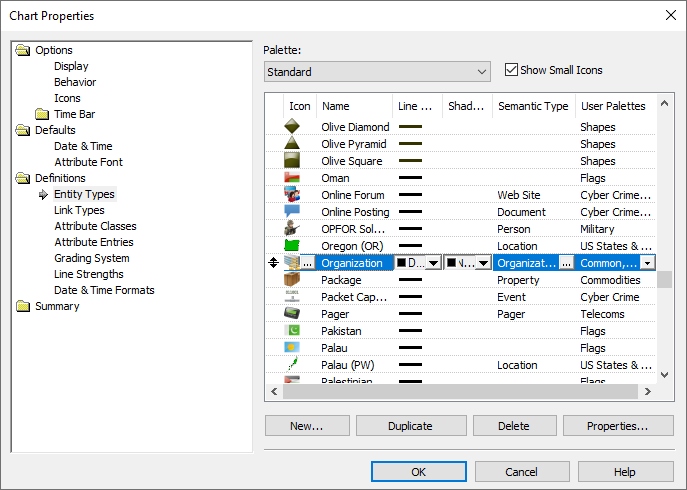
Depending on the language template loaded with i2, there may be spelling variations between the Sintelix default configuration Exported Entity Type and the default i2 Entity name. For example, the Sintelix default for the entity Organisation is "Organisation". However, if a US language template is applied to i2, the i2 Entity name is "Organization". Therefore, you would need to change the Exported Entity Type in the configuration to Organization to match the i2 default entity name.
-
-
Check the Icon Name:
-
To use the i2 default icon for the i2 Entity, leave this field blank.
-
To use a different i2 icon, enter the i2 icon name.
-
-
-
When you have added / updated the configuration for each entity type and link type, select Save.
Result: This configuration can now be used to export a network into the ANX format, to be opened using the i2 Analyst's Notebook

In i2 ANB - Get the Entity Name and Icon
Get i2 Entity Name
To match the exported Sintelix entity to the i2 entity, you need to check the names match. To do this, you need to:
-
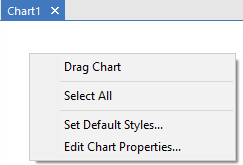
In i2, right click in an Chart pane and select Edit Chart Properties .

-
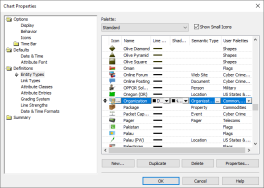
Select Definitions > Entity Types and then select the entity you want to match, e.g. Organization.
-
Make sure the Entity name matches the name entered into the Exported Entity Type field in the Sintelix configuration, and update in the configuration if required.
Choose i2 icon (optional)
If you want to use a different icon to the default i2 icon, then from the i2 Entity types dialog:
-
select the icon link button
 to open the Choose Icon dialog,
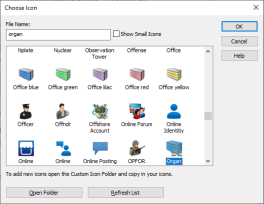
-
select the required icon and copy the icon's File Name
-
enter the copied File Name into the Icon name field in the Sintelix configuration.