Multifile Network Export Configuration: i2 iBase
Background
You can export a Network for i2 iBase. See Multifile Network Export for i2 iBase.
You can configure the Network data included in the export.
Access
To configure the Multifile Export, select Configurations > Multifile Network Export
The Multifile Network Export panes are displayed.
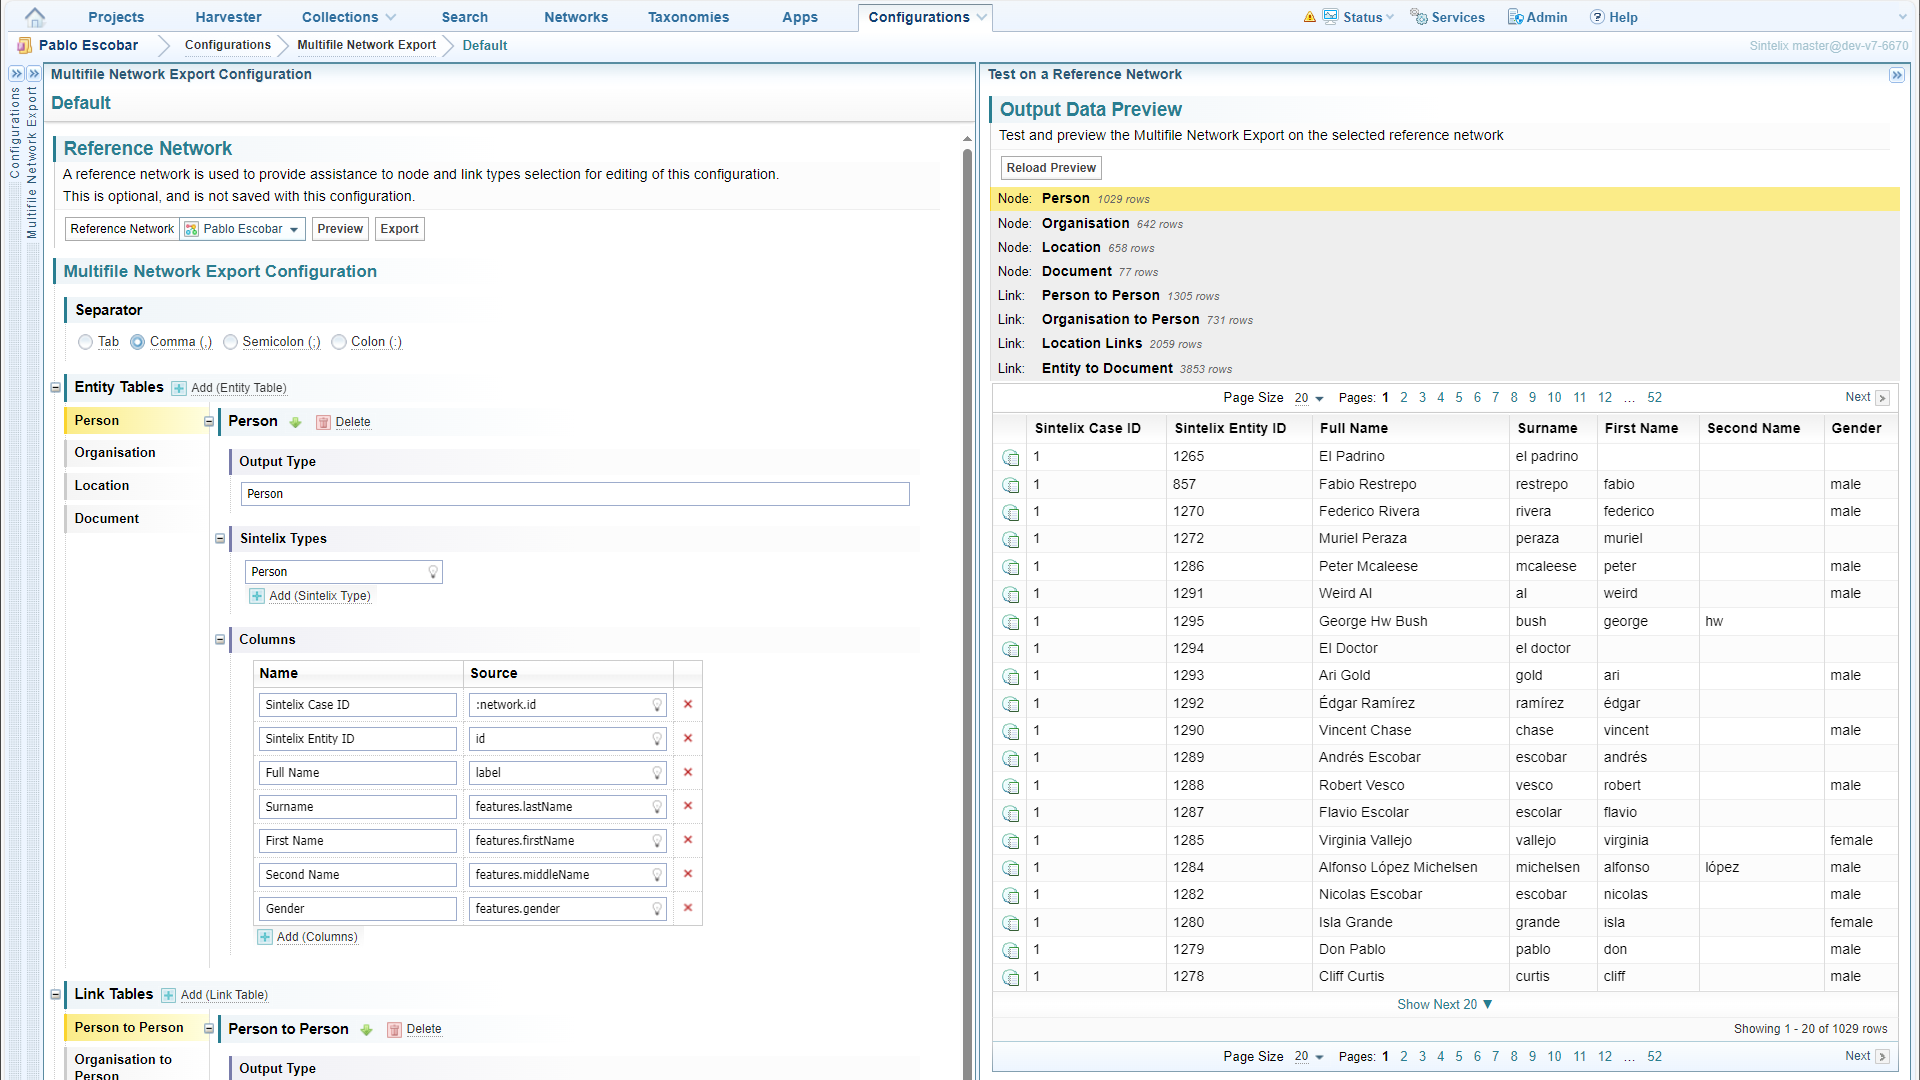
To increase the space, click the collapse icon  against the Configurations and Multifile Network Export panes.
Configure Process
To configure the export:
-
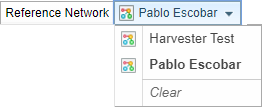
Select the Network you want to base the configuration on from the Reference Network dropdown.
-
Select the required Separator:

-
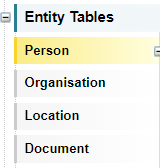
Select or Add an Entity/Link Table to configure.
Each entity and link becomes a table exported in a separate text file .
-
Click on Save, to save the changes to the configuration.
-
Click on or , to view the output data generated by the saved configuration in the Output Data Preview pane.
-
When satisfied with the output data generated by the configuration, select to download the zip file.
Select or Add an Entity/Link Table
To add or modify the entities and links to include in the export, you can:
-
Select an Entity/Link table to modify, by clicking on the entity/link name.
-
Add an Entity table, selecting the Add (Entity Table) button

-
Add a Link table, selecting the Add (Link Table) button

Configure the Selected Entity/Link Table
Once you have selected an Entity/Link table to configure, the Configuration interface is displayed.

| Output Type |
Give the output type a name, this is used to name the associated text file. |
| Sintelix Types |
Click on the lightbulb icon Click on Add (Sintelix Type) to add another entity/link type Click the lightbulb icon You can have more than one Entity Type listed. |
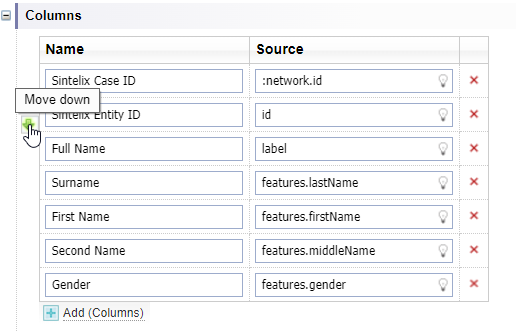
| Columns |
Choose the information to be exported as columns with the entity/link. |

|
Select the Delete icon to remove a entity/link table. |
| |
Select the up and down arrows to change the order in which the entity/link tables are exported. |

Configure Columns for export
When configuring nodes and links for export, you can set what columns are exported with the node/link.
To configure the columns to be exported with the node/link:
|
|
Hover over the left column next to a field to view the up and down arrows. Click on the up and down arrows to change the order of the fields. |

|
Give the field a name. This becomes the column header in the export file. |

|
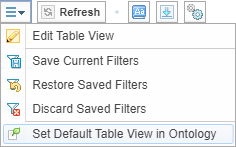
Select the data/information to go into the field. Click the lightbulb icon For more advanced expressions, refer to See Field Path Notation and Field Path Notation Syntax for the syntax you can use. You can look at the Network Table View configuration for the entity/link to see expressions used to display information in that table. From the Network Table tab, select
Result: The Table View configuration will be shown, including expressions for displaying information in the Table Columns. Those expressions can be copied and applied to the Columns settings. |
|
|
Select the Delete icon to remove a column. |

|
Select the Add (Columns) button to add a new field. |
 Edit Table View option in the dropdown Action menu
  at the top of the Table View.