Add (Ingest) Documents
Introduction
You can add many different types of files to Sintelix: text, images, audio/video, mail servers, databases, etc.
Files can be added to Sintelix through Collections or Harvester.
Once files have been added to Sintelix they are automatically ingested and stored as Documents in Collections.
On Demand or Scheduled
Documents can be added to a collection at any time, or use the Ingestion Scheduler to automatically check for new or updated files in a specific library, or new emails from a server, then add them into a collection. For more information, see Scheduling Ingestion.
Document Sources
You can add documents to a collection from the following sources:
- Server library - fastest and therefore recommended for large volumes of data
- Local Files (via upload) - slowest, each file must not exceed 100 MB
- From URLs - where you can save a list of URLs
- From a Data Source, for example a database.
- Using an External API to connect to a data source, for example, Facebook or Twitter. See Ingest tweets from Twitter for an example
- AWS S3 Bucket, if configured (see Configure and Secure Libraries). Behaves in a similar manner to a Server Library.
- Mail Server, if configured (see Configure and Secure Libraries)
The Administrator can add additional libraries, including the AWS S3 Bucket and Mail Server libraries. You can have more than one Server, From URLs, AWS S3 Bucket and Mail Server libraries.
Document Formats
Sintelix can ingest data in many different formats. Some formats need to be installed and/or configured, including:
-
scanned/images documents by applying Optical Character Recognition (OCR) during the Ingestion configuration.
-
audio/video files by apply Audio-Video Transcription during the Ingestion configuration.
-
a Structured Data Source, like databases. See Define a Data Source Connection for instructions on configuring a connection.
-
websites from the Internet. See Harvester.
Ingestion Configuration
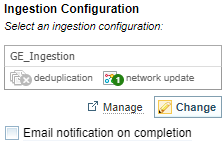
When you add documents, you can choose which Ingestion Configuration to apply. The Ingestion Configuration defines what information is extracted from the documents. The currently selected Ingestion Configuration is displayed to the right of the Add Documents pane.
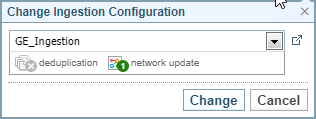
Change the Ingestion Configuration
To change the Ingestion Configuration:
-
Select the button
Result: The Change Ingestion Configuration dialog is displayed.
-
Select the required Ingestion Configuration from the dropdown.
Result: If the features deduplication and network update are included in the configuration, they are shown in green, otherwise they are greyed out.
-
Select the button to apply the change.
View or Modify the Ingestion Configuration
If you want to view the configuration, click Manage.
If you have the required permissions, you can edit the Ingestion Configuration. See Ingestion for more information.
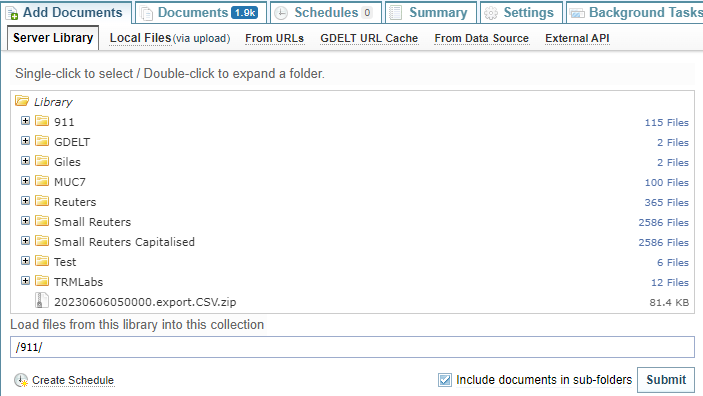
Server Library or AWS S3 Bucket
The Server Library is a quick way to load a large amount of data to process.
-
Select the Server Library tab.
Result: The folders and files in the Server Library folder A folder in which you can place source documents. When you install Sintelix you are prompted to enter a path and name for a server library folder. The default name is 'Server Library' but you can change this. The fastest way to ingest documents is to place them in a server library folder. are displayed.

-
Select the folder or file you want to add to the collection.
Click on a folder or a file to select it. Double-click on a folder to expand it.
-
Select the Include documents in sub-folders checkbox, if required.
-
Select the Email notification on completion checkbox, if required.
-
Select .
Result: Sintelix will begin ingesting the documents. Progress can be viewed under the Background Tasks tab. As each document has been ingested, it is added to the Collection and can be viewed in the Documents tab.
Local Files (maximum 100 MB per file)
During document uploads your browser may freeze or become unavailable. If you want to continue accessing Sintelix, open a second browser. For example, if you are uploading documents to Sintelix on Google Chrome, run another instance of Sintelix on Firefox until the upload completes.
To upload local files:
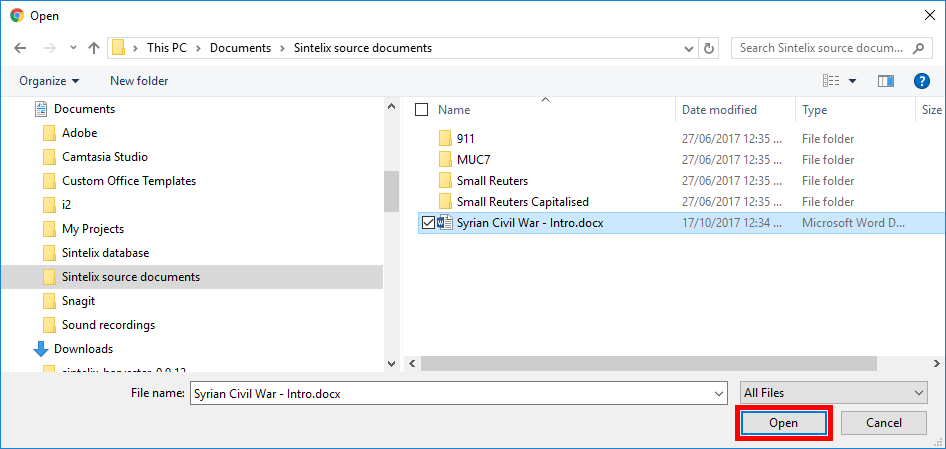
- Select Local Files (via upload) > Upload Documents.
- Select the file or files you want to add to the collection. Use the Shift or Ctrl key to select multiple files.
- Select Open. The document/documents are added to the Document list under the Add Documents pane.
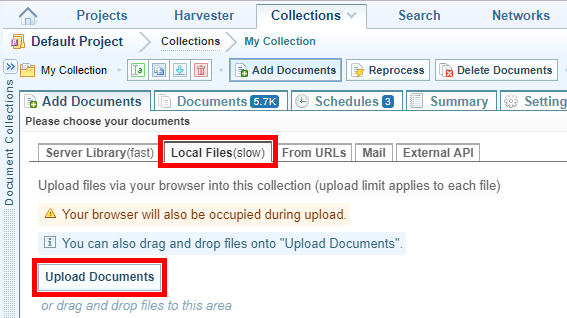
You can also drag and drop files from Windows Explorer onto the Local Files tab.
Ingest from URL
The From URLs tab enables you to extract text based information directly from the Internet in three ways:
-
From specific web pages, for example, http://yourwebsite.com
-
From twitter posts linked to a Twitter ID, for example, @yourtwitterid
-
From twitter posts linked to a Twitter hashtag, for example, #yourtwitterhashtag
To ingest text or files from a URL:
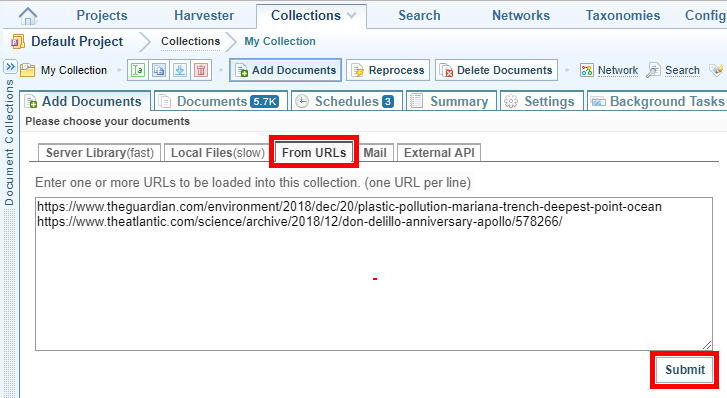
- Select From URLs tab.
- Enter the URL you want to ingest the text from, or enter the path to a specific file on a site. To enter multiple URLs, separate each one with a line break as follows:
- Select Submit. The document/documents are added to the Document list under the Add Documents pane.
Ingest from a Data Source
Ingest Structured Data
You can ingest data directly from a Structured Data Source into a Sintelix collection and create Sintelix documents.
Ingesting data
To ingest data from the database:
- Select the Collections tab.
- Select the Add Documents tab and click From Data Source.
- Select a configuration from the Configurations dropdown.
If no configurations are listed, see Structured Data Source for information on the requirements.
- Select a Data Source Definition.
If no Data Source Definitions are listed, refer to Define a Data Source Connection for instructions on setting up one.
- Select Import.
Ingest emails from a mail server
To ingest emails from a mail server, this feature must be enabled. (see Configure and Secure Libraries) .
To ingest emails from a mail server:
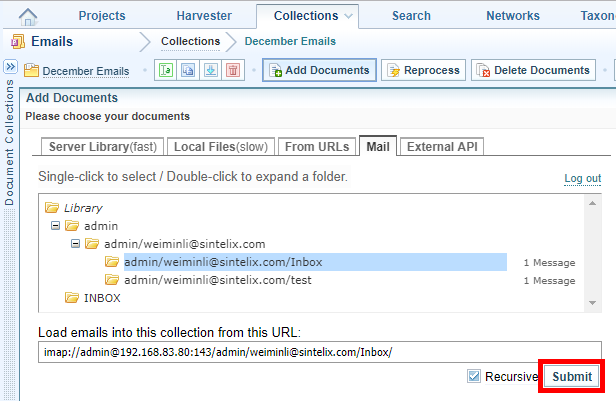
- Select the Mail tab.
- Enter the details of the mail server you want to ingest emails from.
- Select Login.
- Select the folder you want to ingest emails from.
- Select Submit.
- To log out of the mail server, select Log out.
Each time you log in to a mail server, the login details you entered, (but not the password), are saved in the Login History section below the login fields. Expand this section to show the details of the five most recent logins. To populate the login fields with the details of one of the mail servers (rather than completing the fields manually), select the relevant row. Enter the password then select Login.
By default, emails in the subfolders will be also ingested. Deselect the Recursive check box if you do not want the subfolders to be ingested.
The document/documents are added to the Document list under the Add Documents pane.
Ingest tweets from Twitter
You can configure Sintelix to ingest historical and future tweets from Twitter based on different criteria. For example, you may want to ingest tweets from a specific account, or tweets that mention a current event or contain a specific phrase.
You must specify the maximum number of tweets you want to ingest. The ingestion is run as a background task from the time you submit the task until the maximum number of tweets have been ingested.
If you want to ingest historical tweets, a standard Twitter account will enable you to search for tweets posted in the past 7 days. Access to more data requires a paid subscription.
To ingest tweets from Twitter and add search feature:
Create a Twitter developer account
- In Twitter, create a developer account, if you have not already done so.
- Log in to Twitter as a developer, then follow the steps on the Getting Started page to create an app.
- Go to the Keys and tokens tab, then copy the following credentials, as you will need to enter them into Sintelix:
- API key
- API secret key
- Access token
- Access token secret
Set up an External API configuration with your Twitter credentials
- In Sintelix, open the project into which you want to ingest tweets.
- On the Main Navigation Bar select Admin.
- Select Data Source Definitions > Create a Credential.
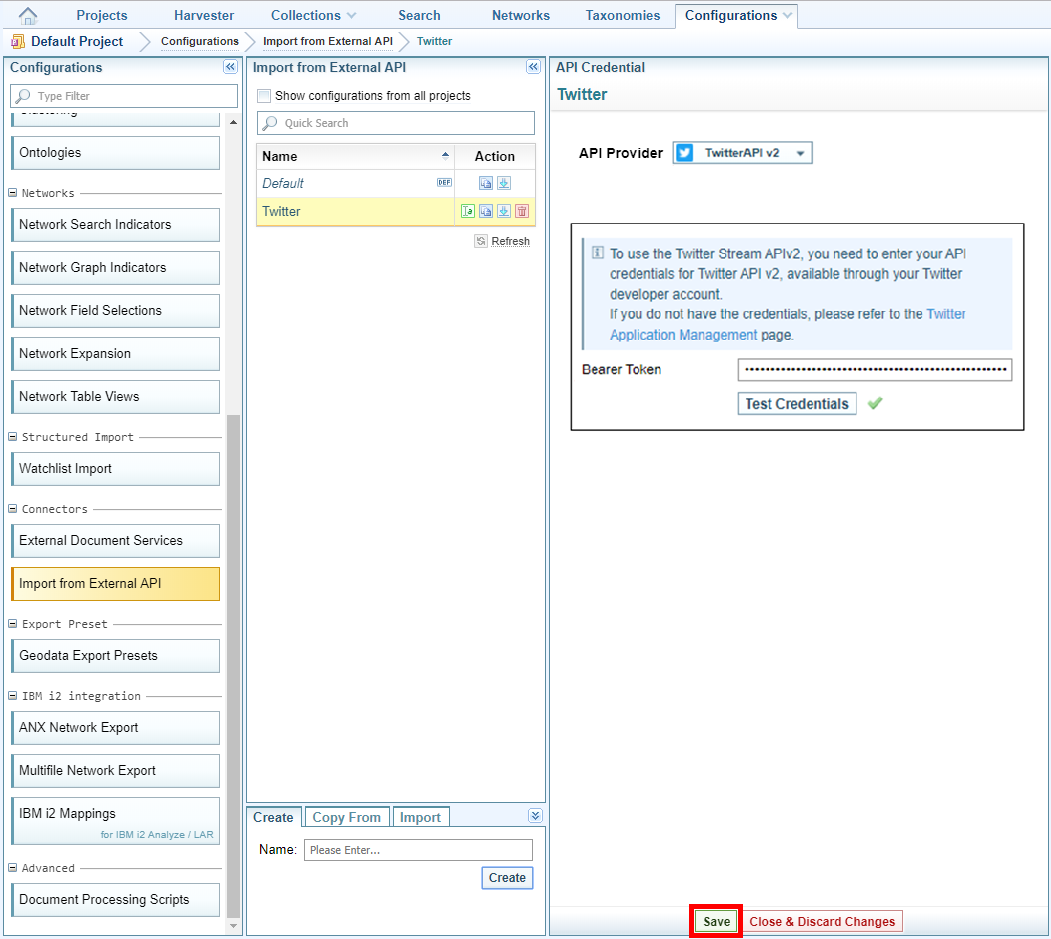
- When the Create a new External API Credential window displays, from API Provider, select Twitter API v1 or select Twitter API v2.
- Enter your Twitter credentials then select Test Credentials.
- Do one of the following:
- If your credentials are correct, a green tick is displayed. Select Save.
- If your credentials are not correct, a red cross is displayed. Check that you have correctly copied your credentials from Twitter then enter them again.
Ingest tweets
- On the Main Navigation Bar select Collections then either open the collection in which you want to ingest the tweets or create a new collection.
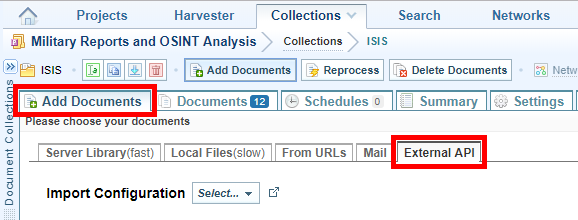
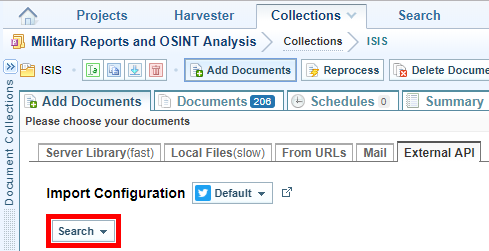
- Select the Add Documents tab, or button, then select the External API tab.
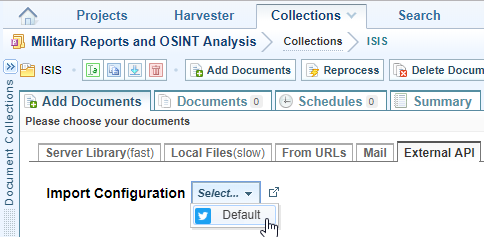
- From the Import Configuration dropdown list select the API configuration you created with your Twitter credentials.
- Do one or more of the following:
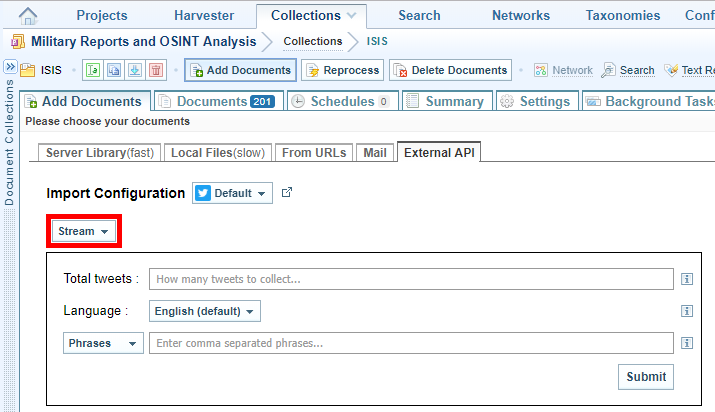
- Select Stream.
- In the Total tweets field enter the maximum number of tweets to ingest.
- From the Language drop-down list select the desired language of the tweets.
- Do one of the following:
- To ingest tweets that contain a specific phrase or phrases, select Phrases then enter the phrase. To enter more than one phrase, separate them with a comma.
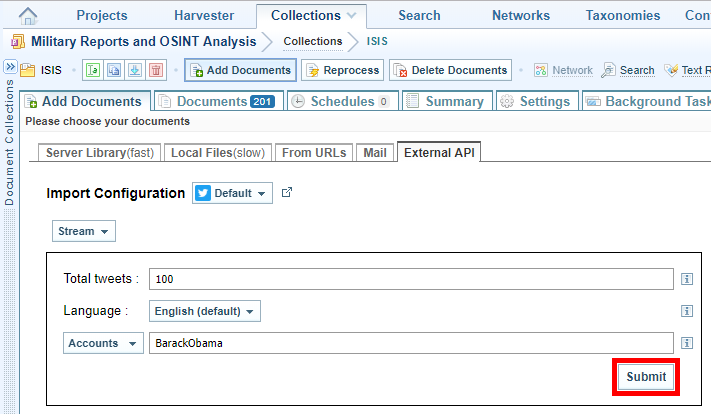
- To ingest tweets by a specific Twitter user/s, select Accounts then enter their user name/s. If entering more than one user name, separate them with a comma.
- Select Submit.
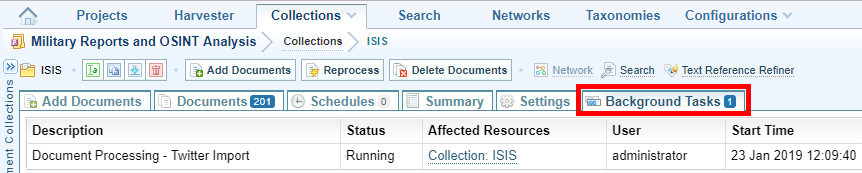
- To see details about the task while it is running, select the Background Tasks tab. To stop the selection select the Delete icon .
- Select Search.
- In the Total tweets field enter the maximum number of tweets you want to ingest.
- From the Language drop-down list select the language in which the tweets you want to ingest were written in.
- Expand the Phrases section to view the search criteria fields, then enter your search criteria. You must enter at least one search criterion into one of the following fields:
- Phrases
- Hashtags
- From
- To
-
Mention
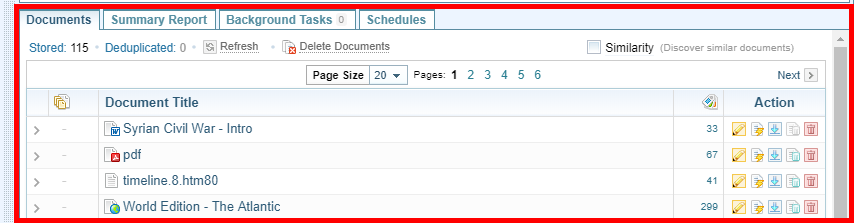
Check that the documents are added to the collection successfully.
- Select Submit. A background task begins to ingest the tweets into the collection. Ingestion The process of converting added files into Sintelix documents in Sintelix will stop when the total number of tweets you specified have been ingested.
- To see details about the task while it is running, select Background Tasks. To stop the task select the Delete icon beside it.
Set up a background task to ingest future tweets:
A background task begins to ingest tweets into the collection. Ingestion The process of converting added files into Sintelix documents in Sintelix will stop when the total number of tweets specified has been ingested.
Set up a background task to search for and ingest historical tweets:


You can now explore and analyse the information in the collection A collection is a container for storing and organising ingested files and documents. Only the textual content is stored in collections, not the original files and documents. (see ).